
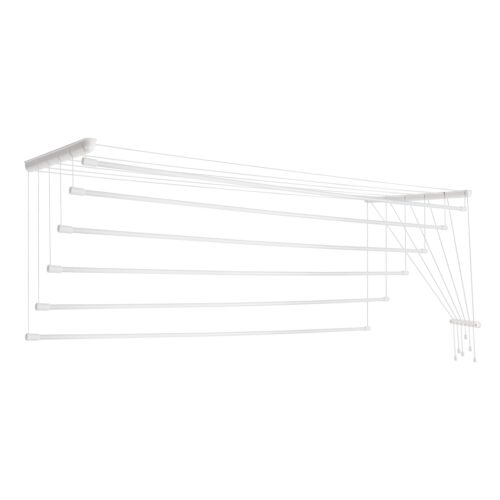
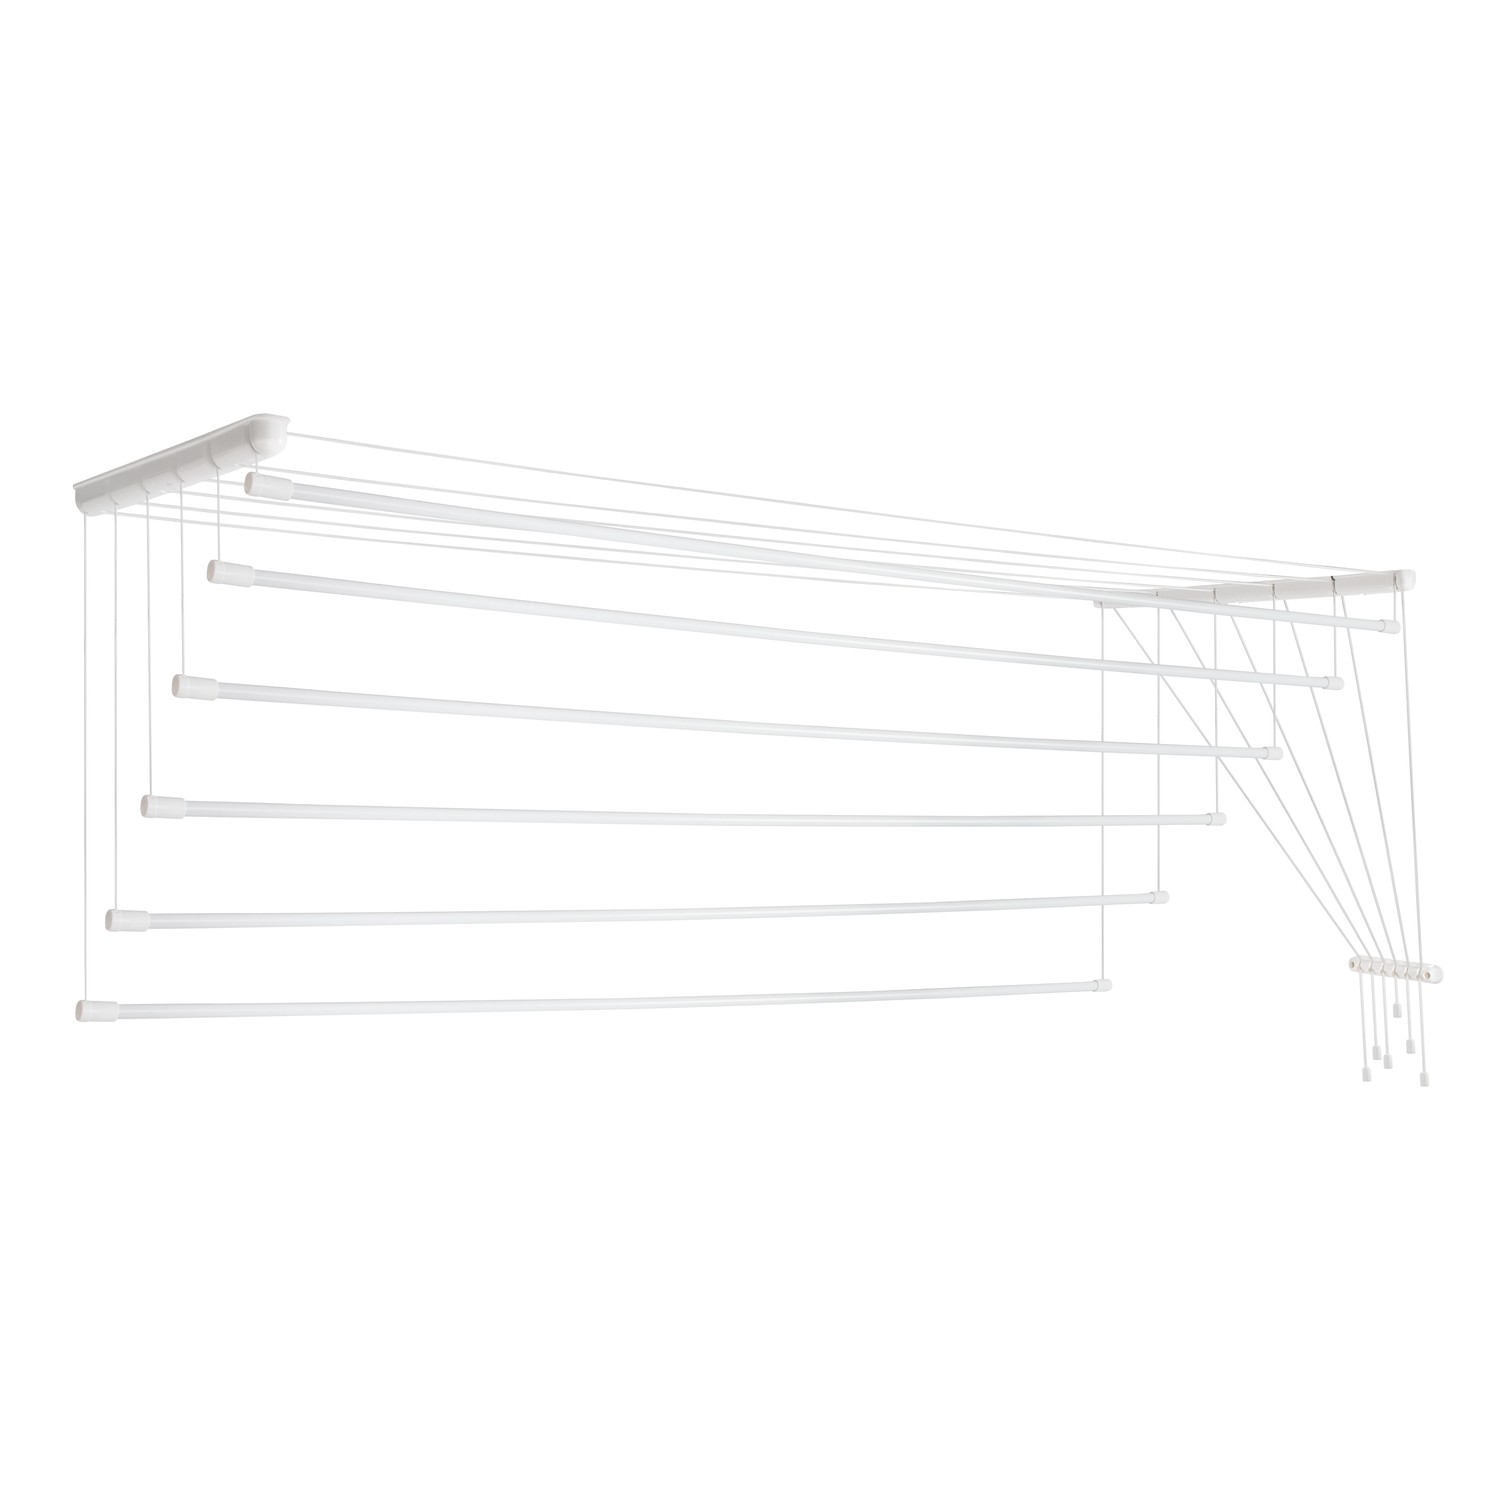
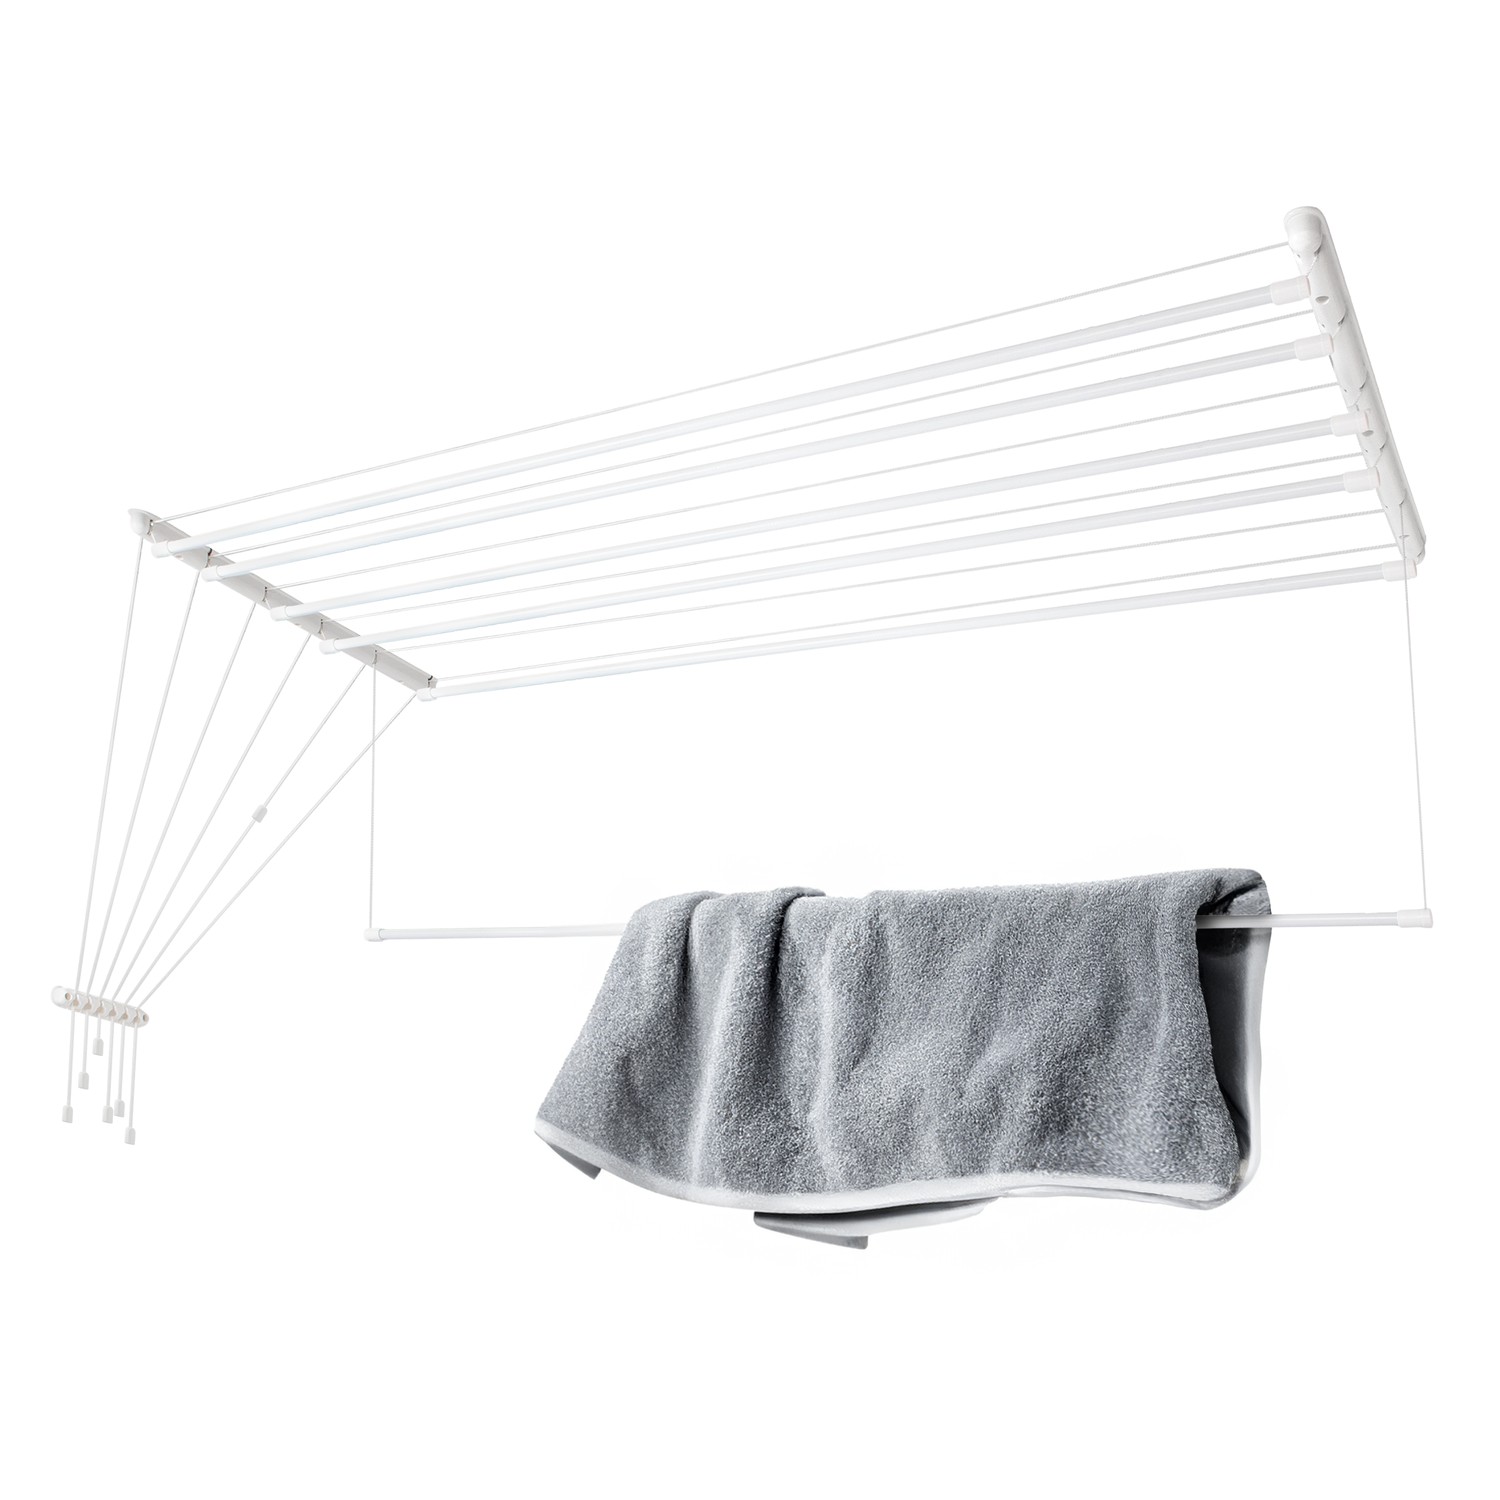
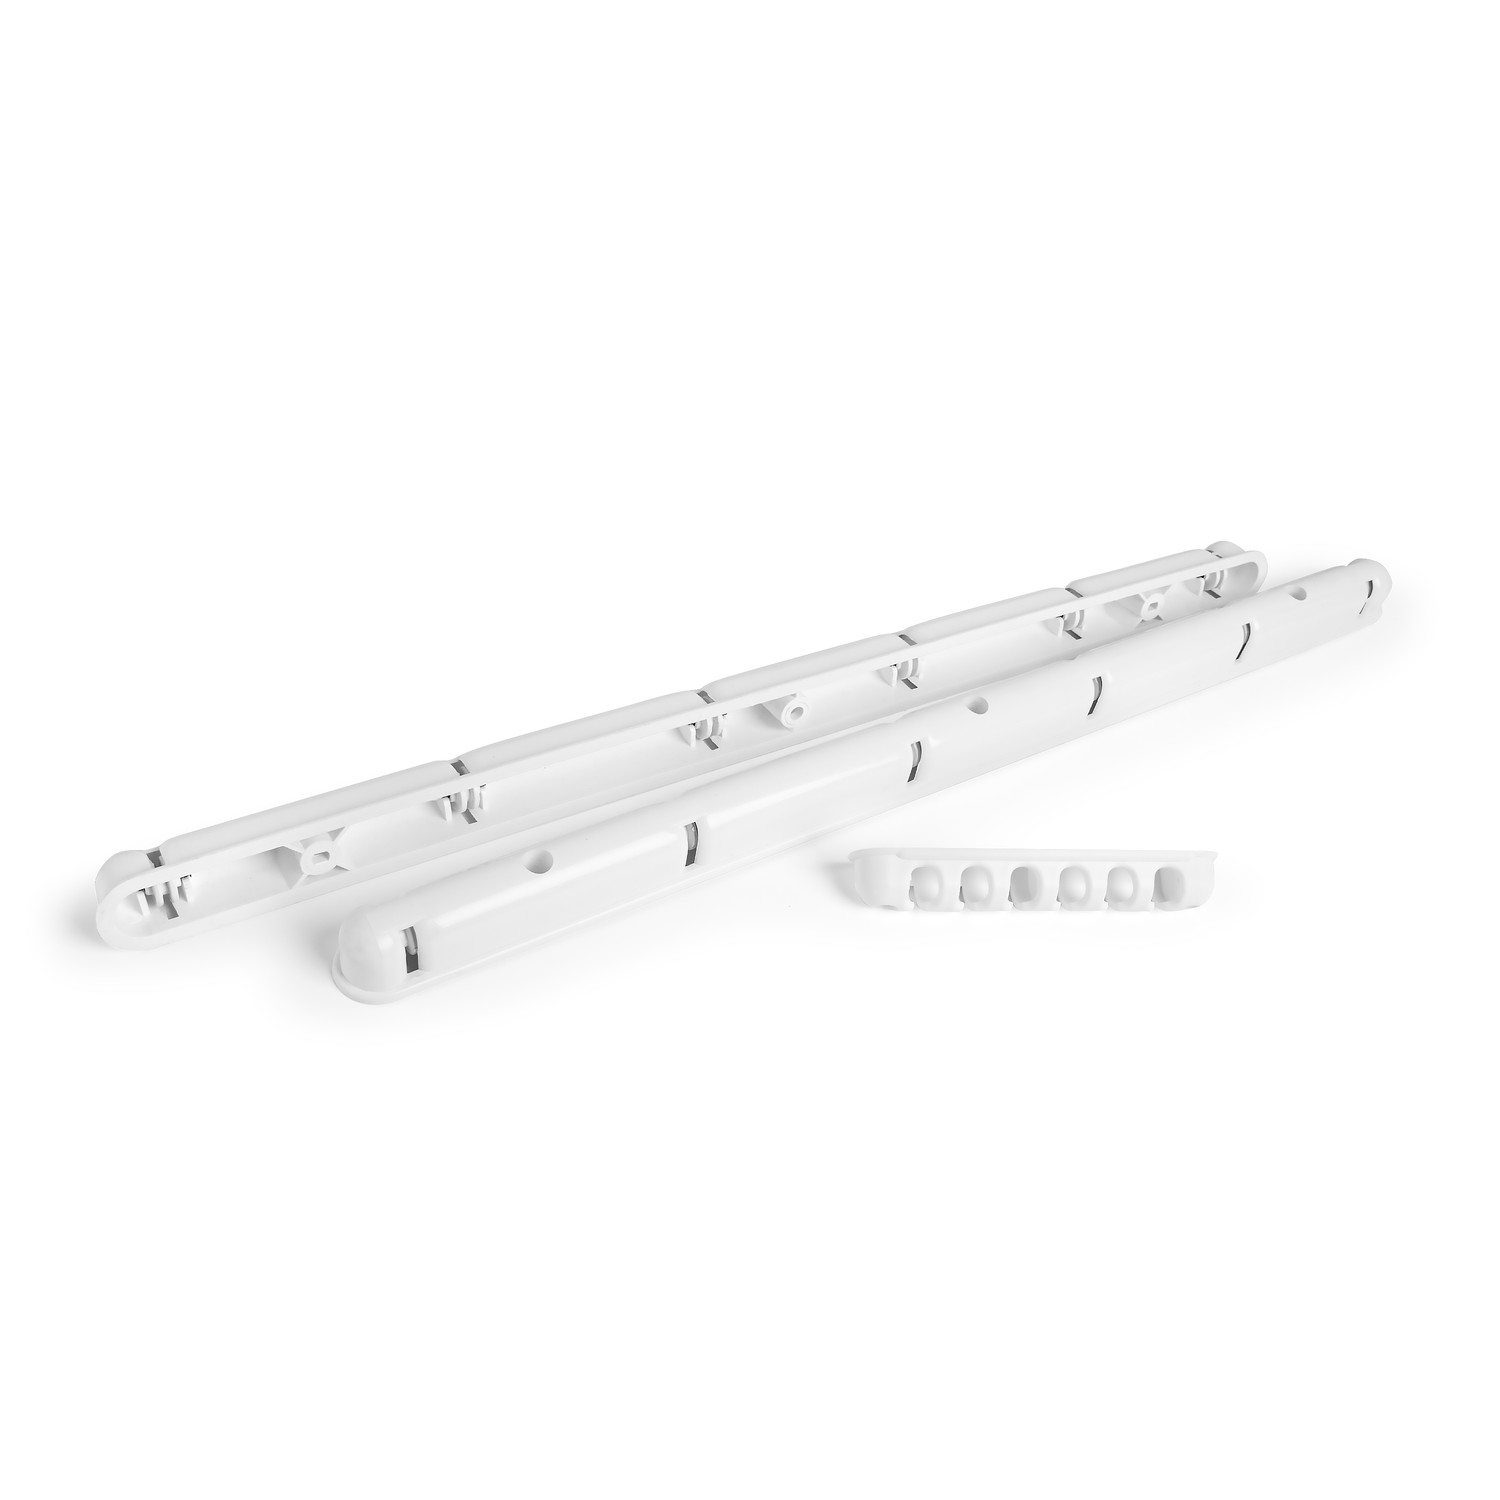
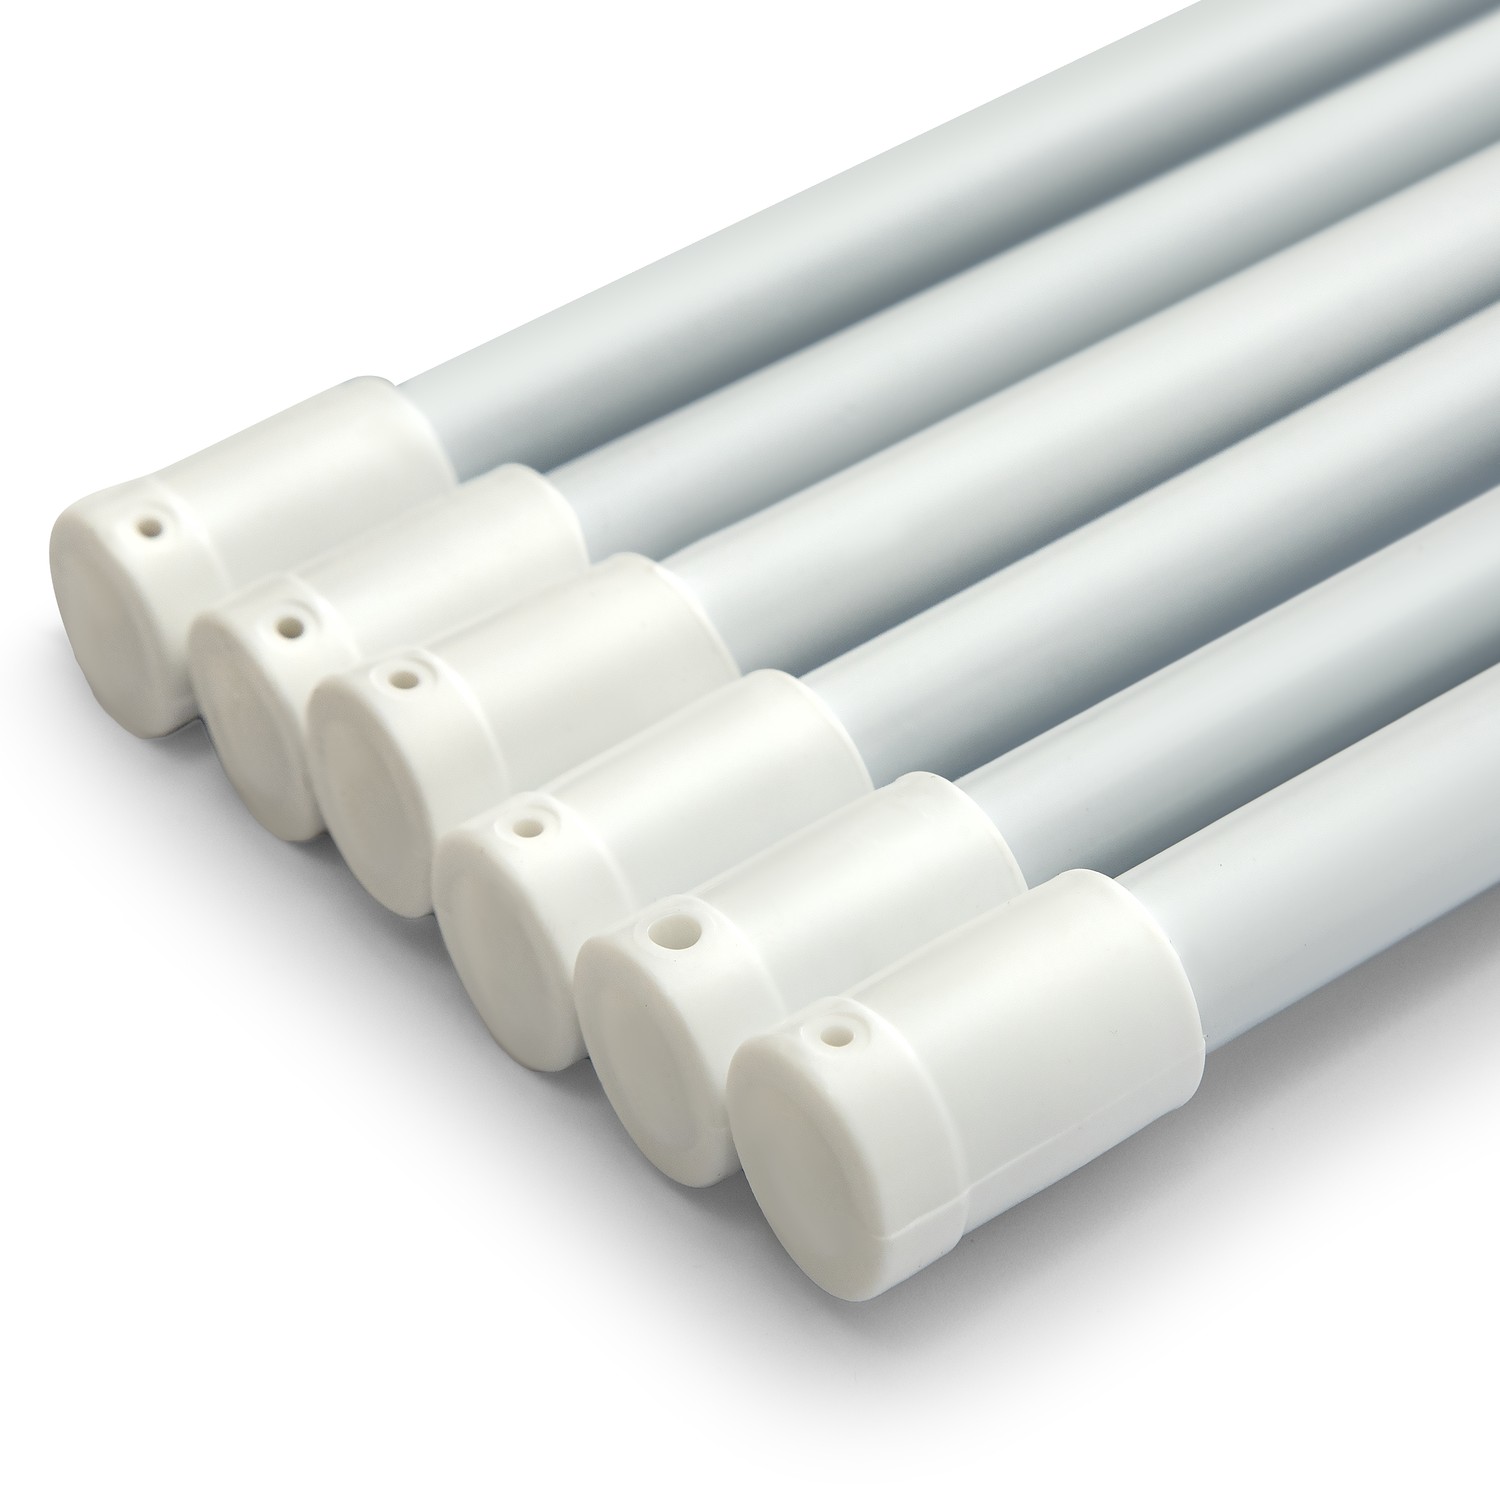

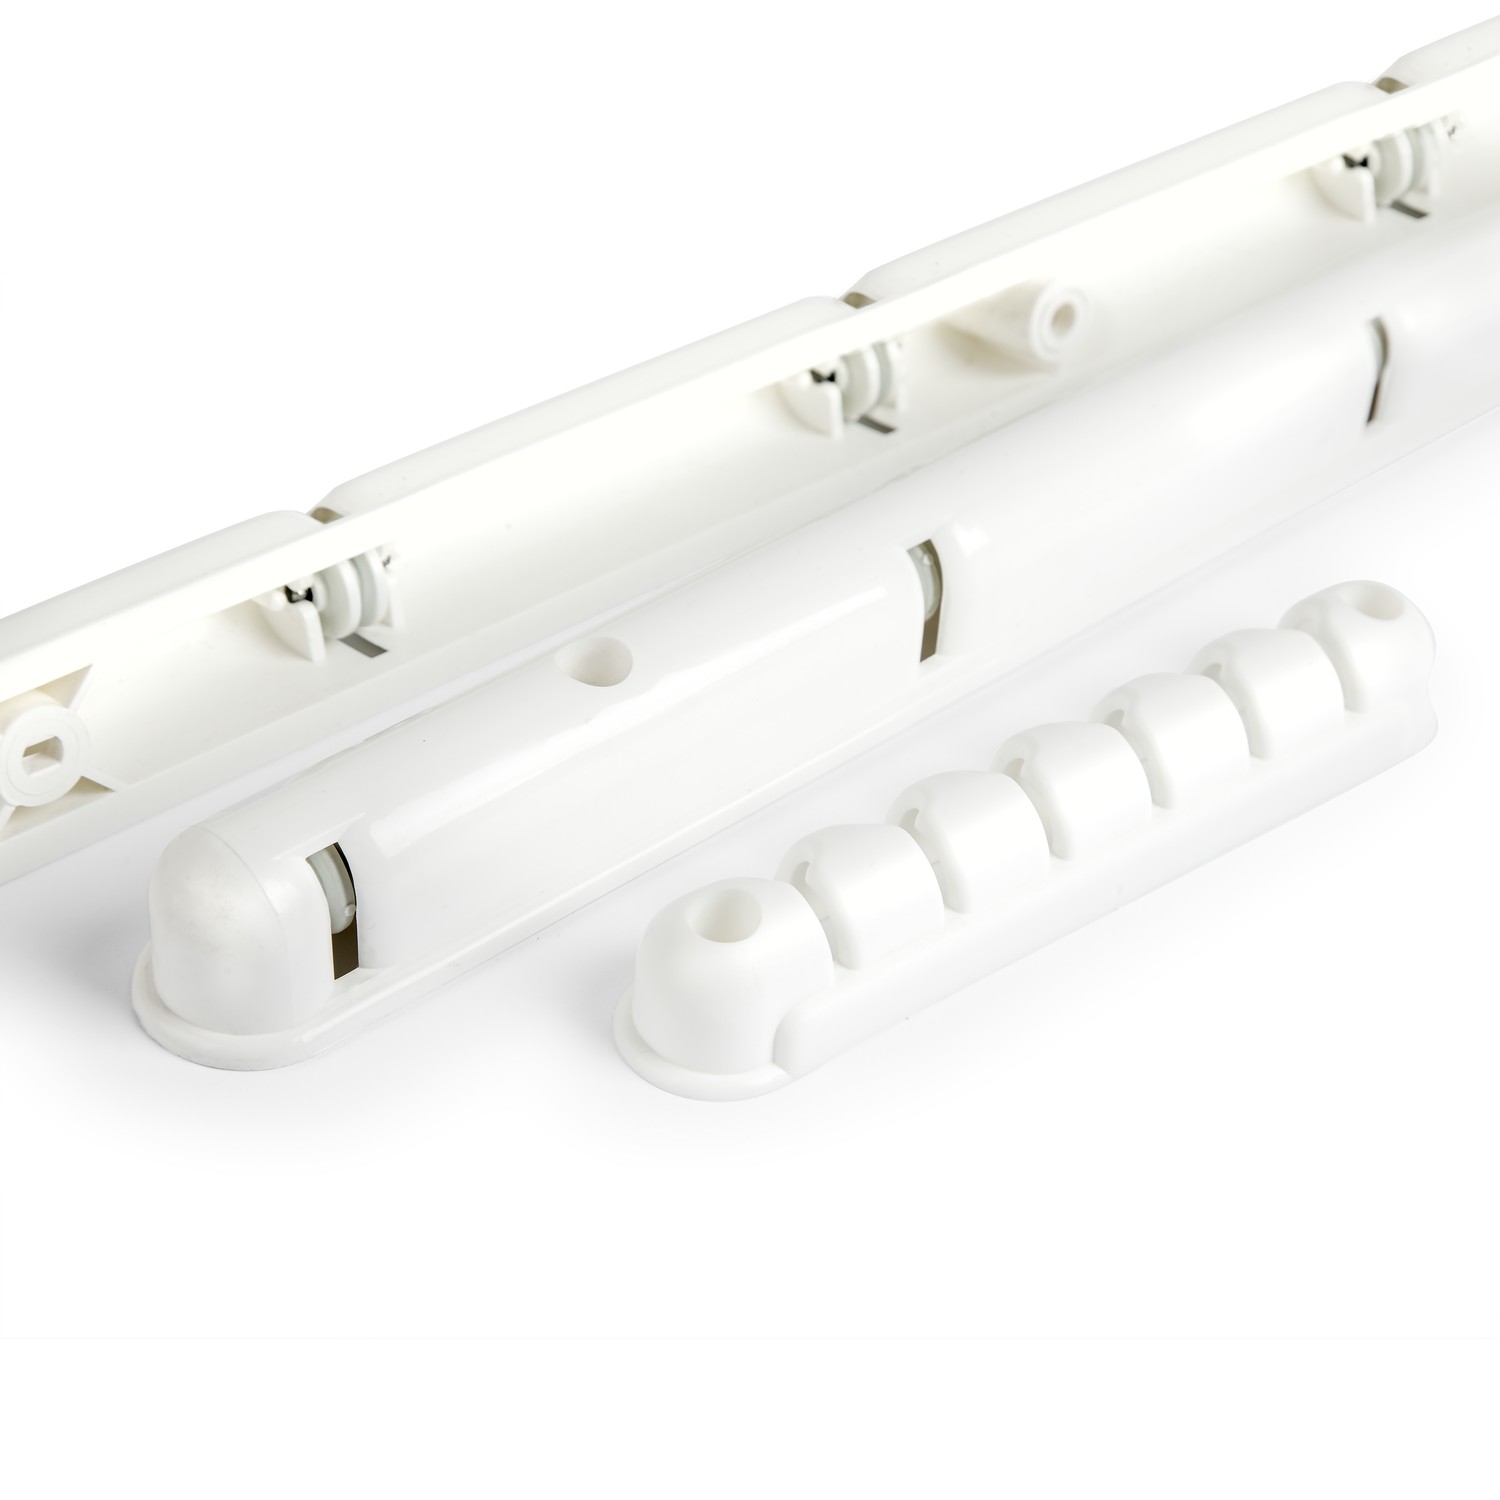
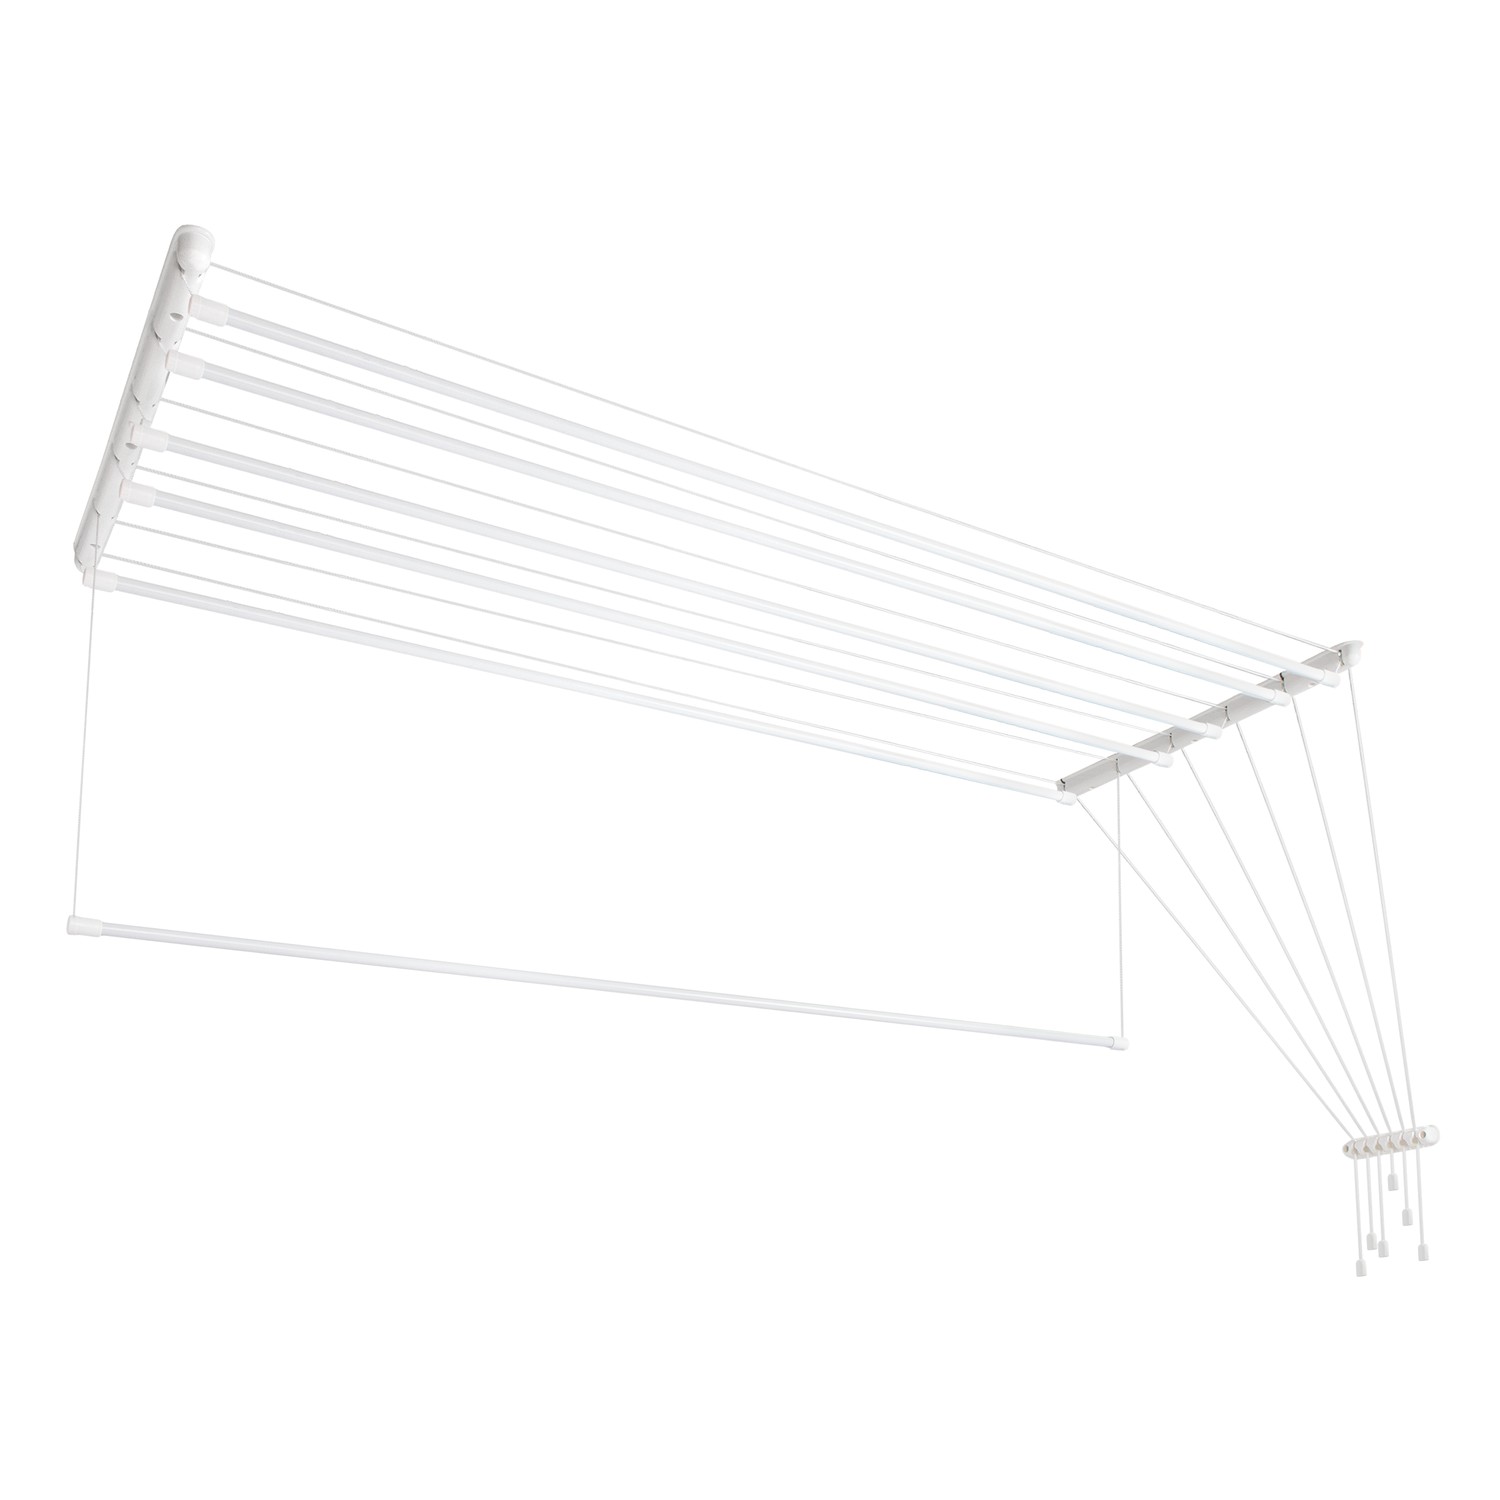
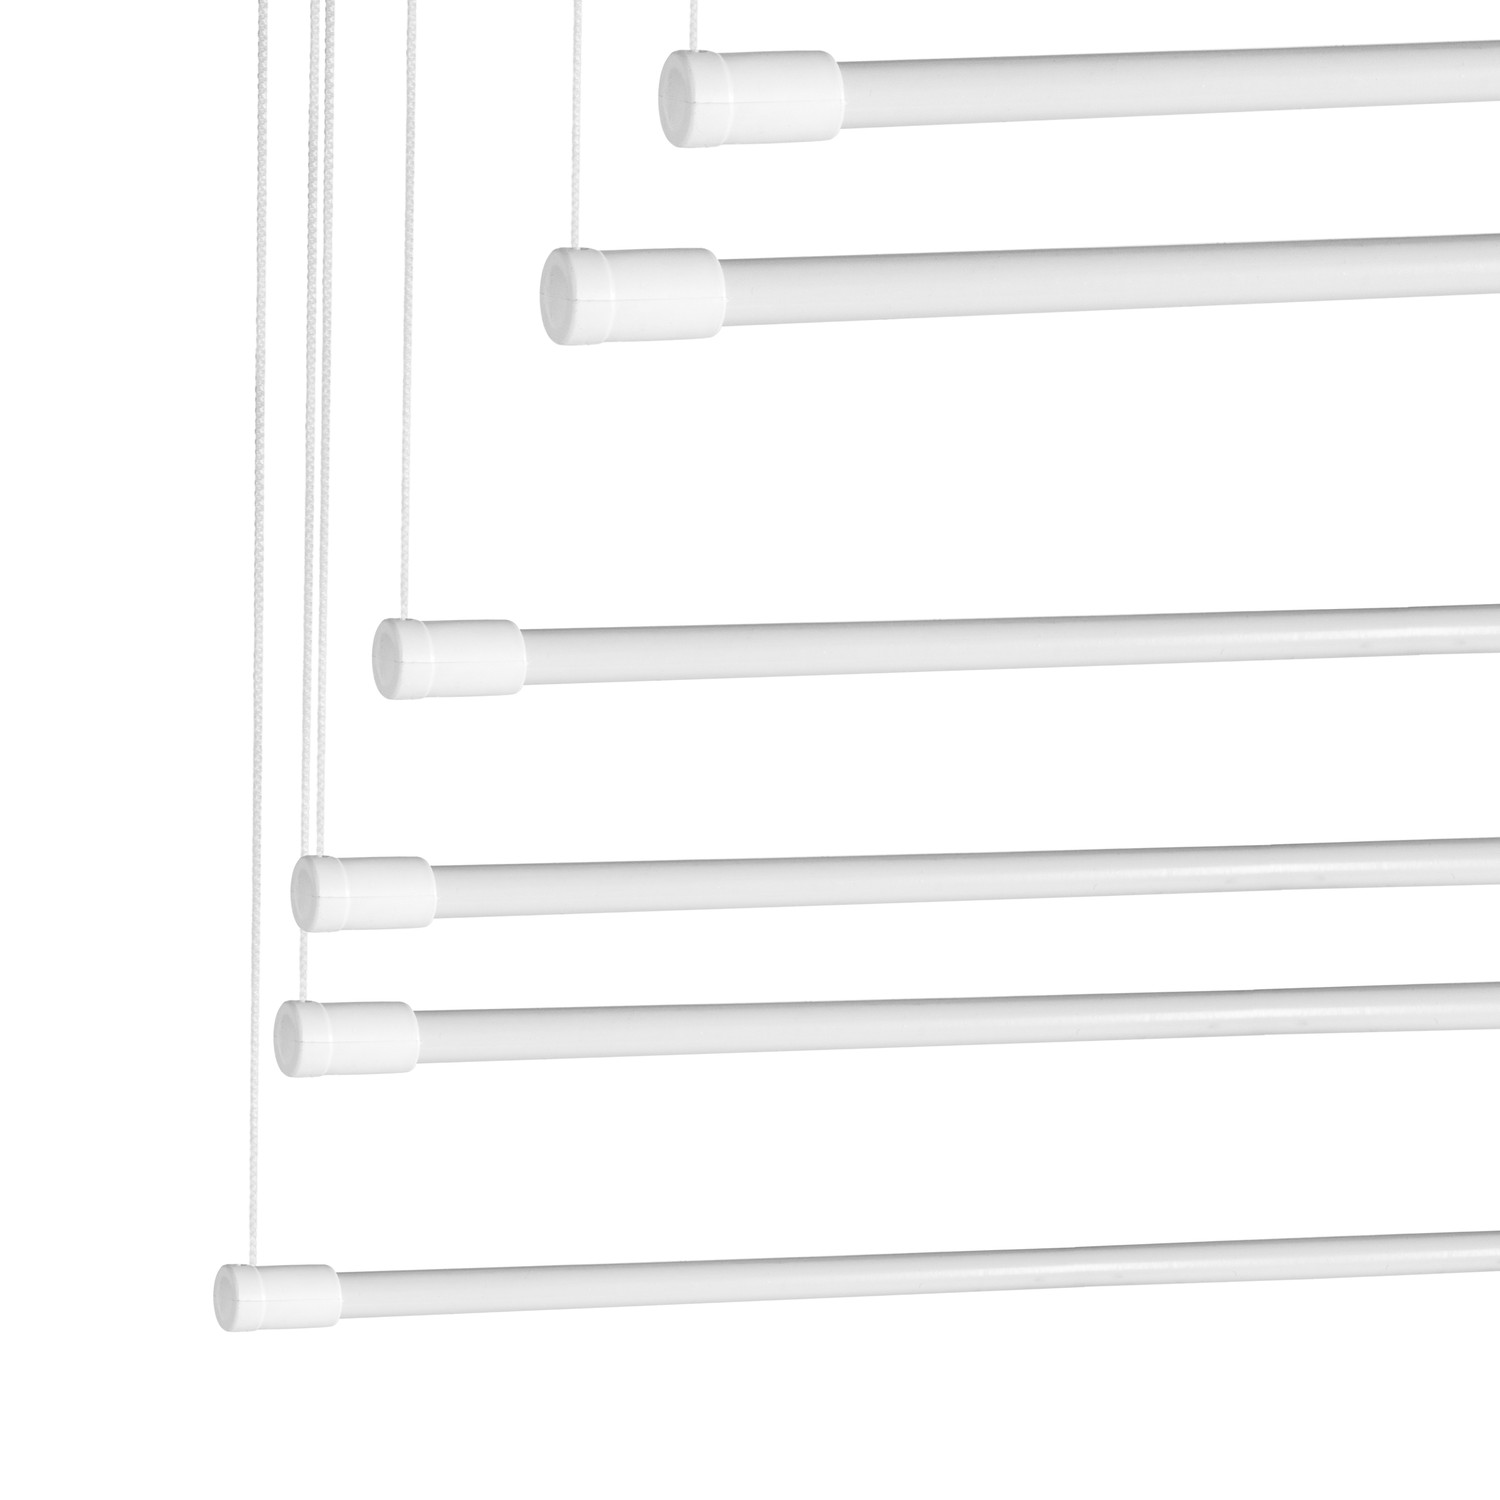
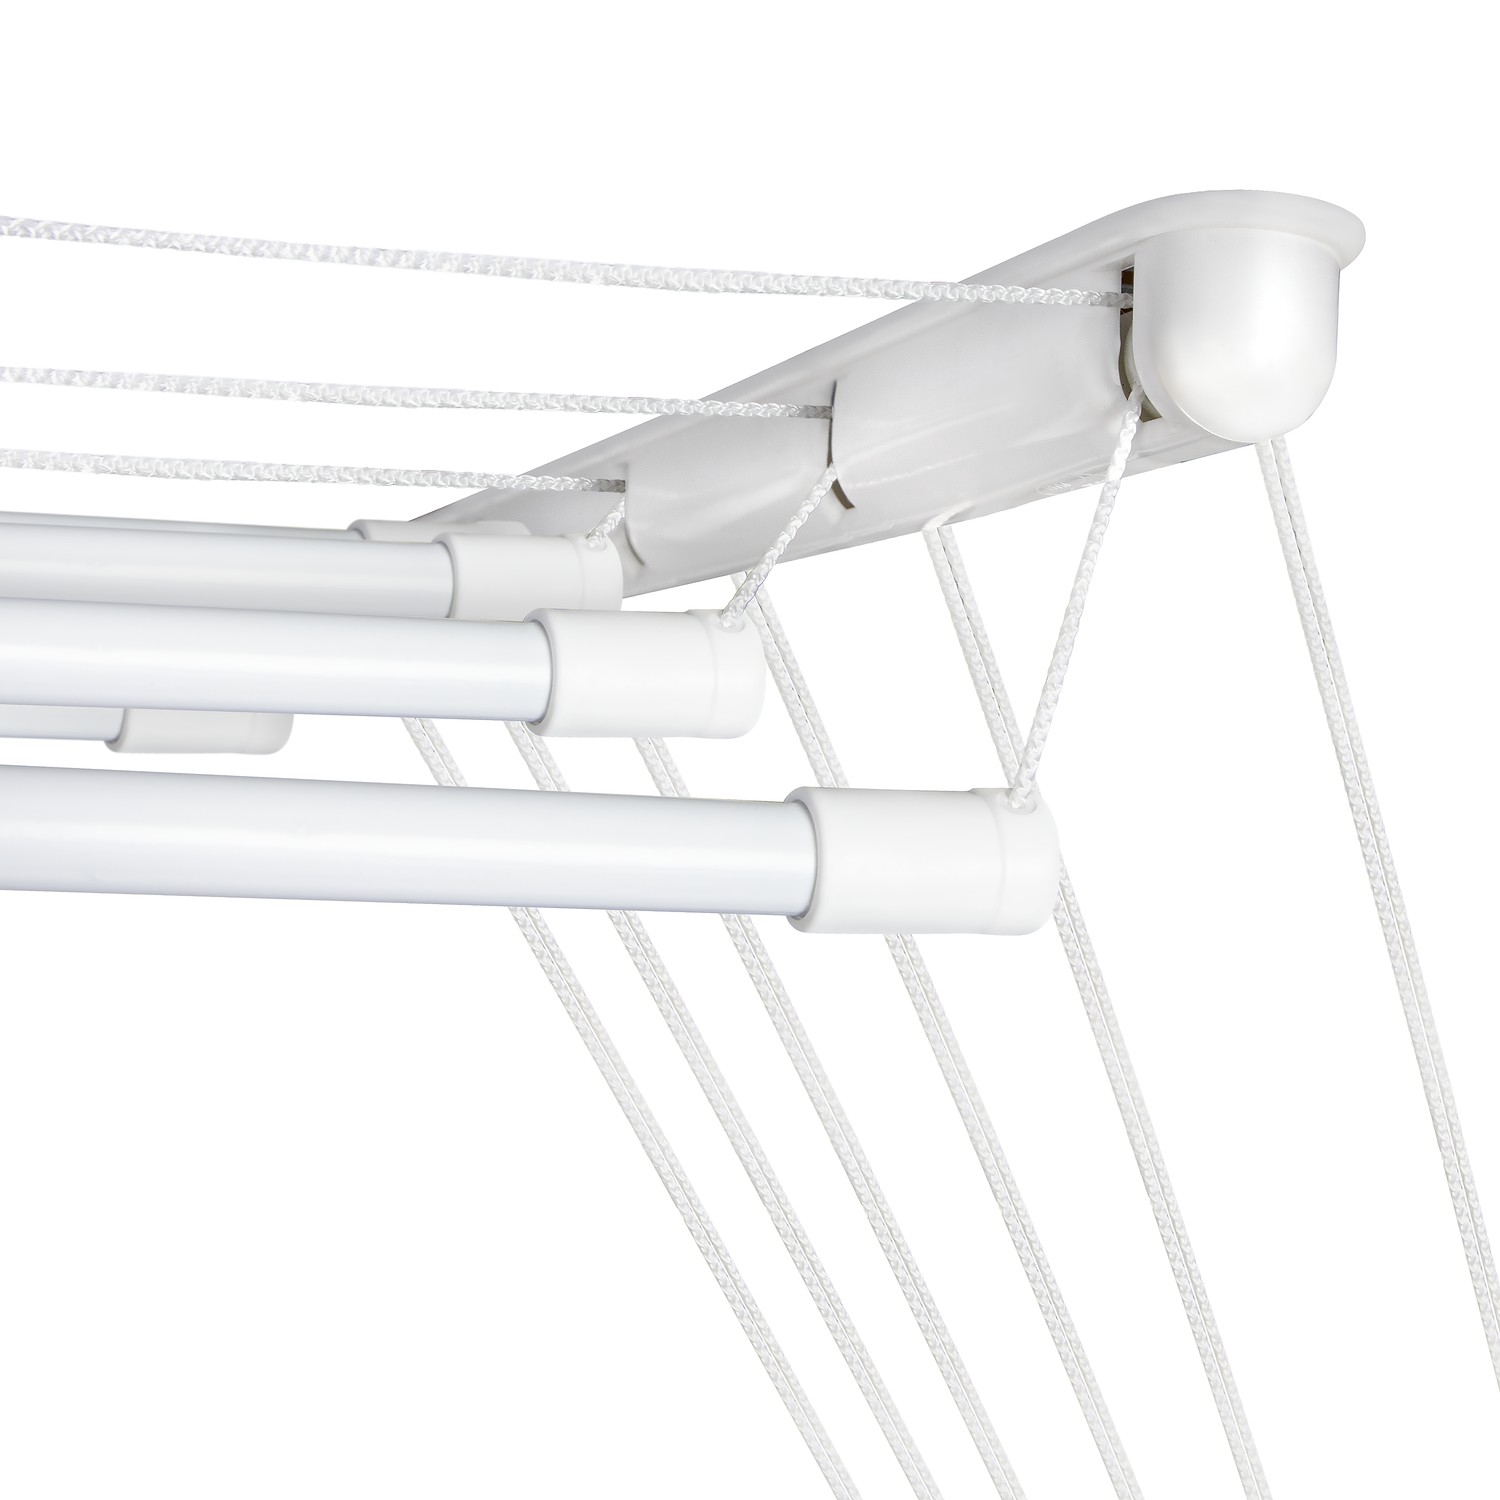
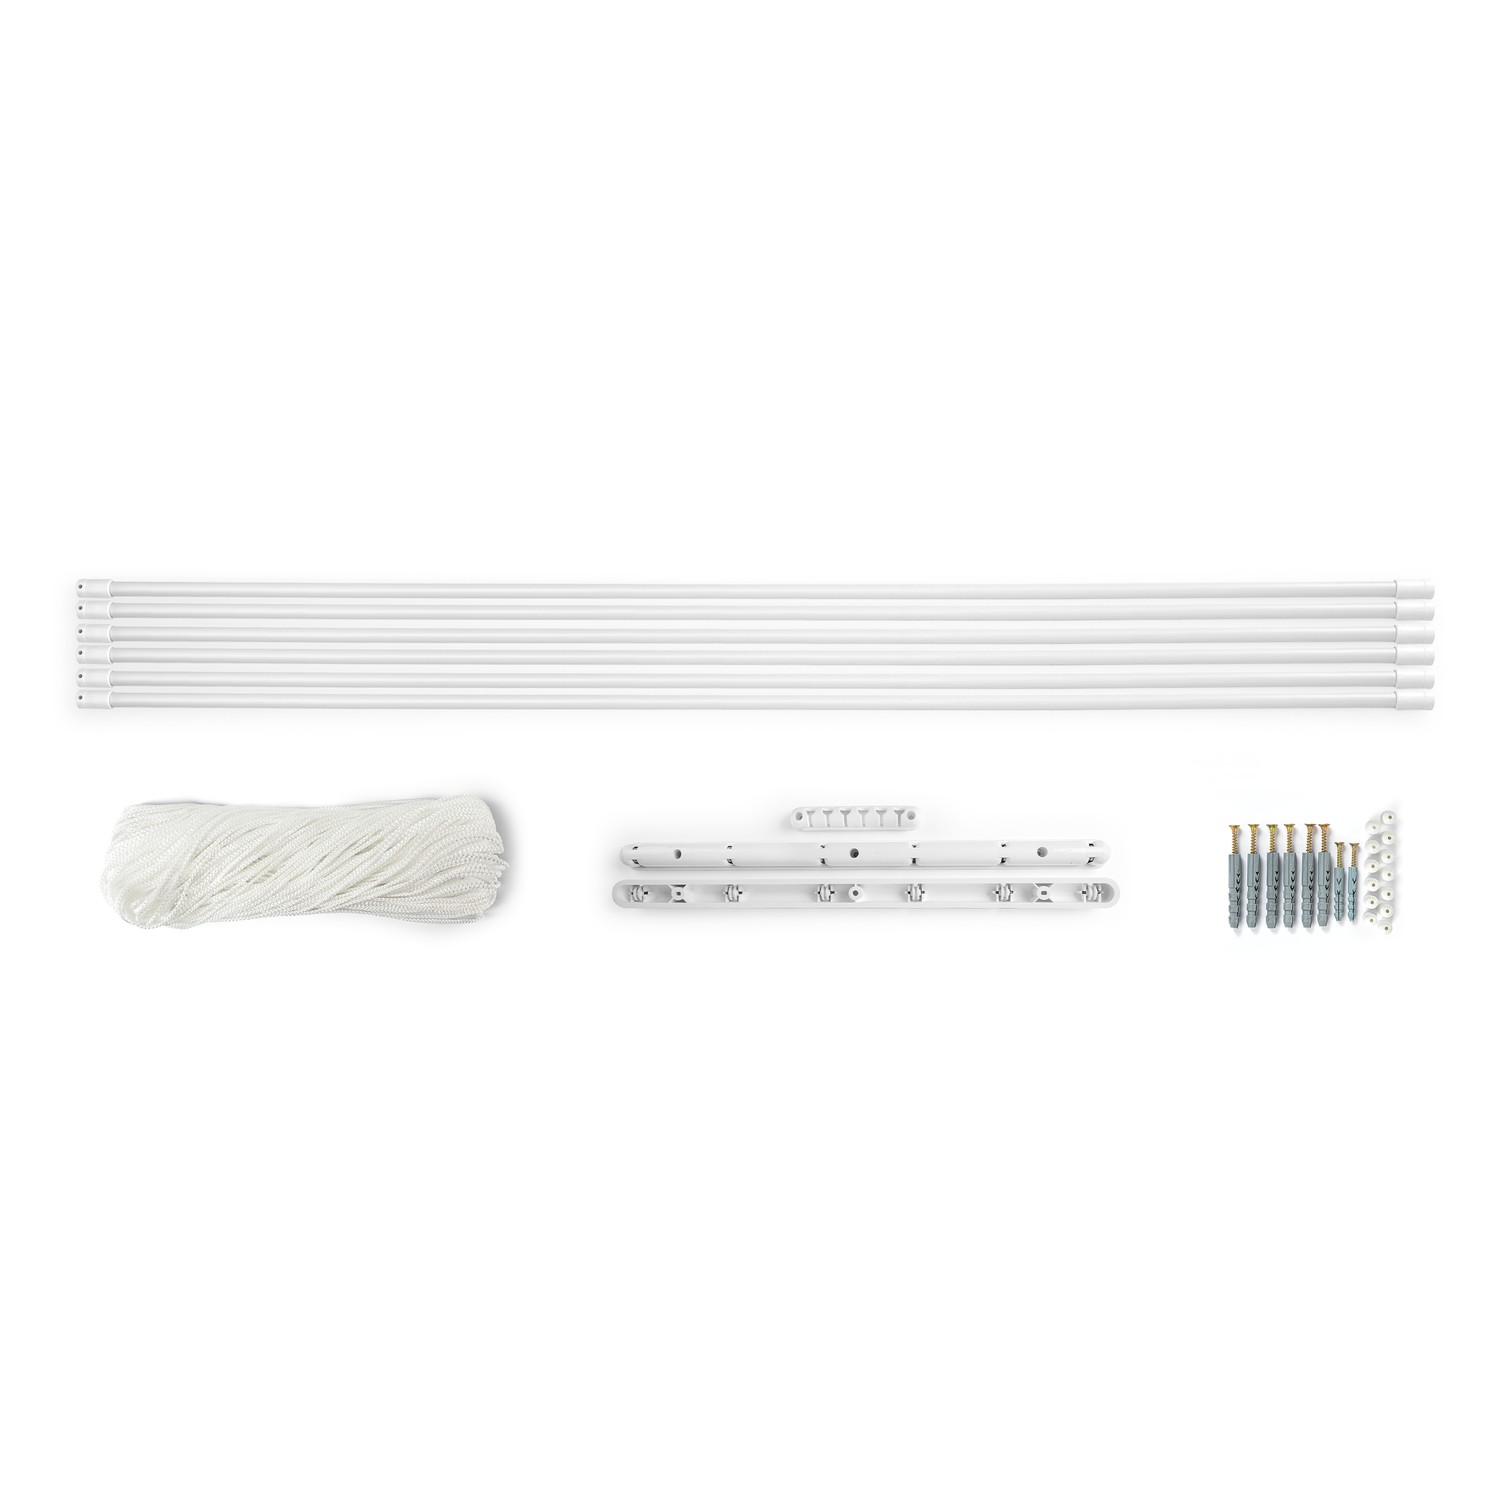
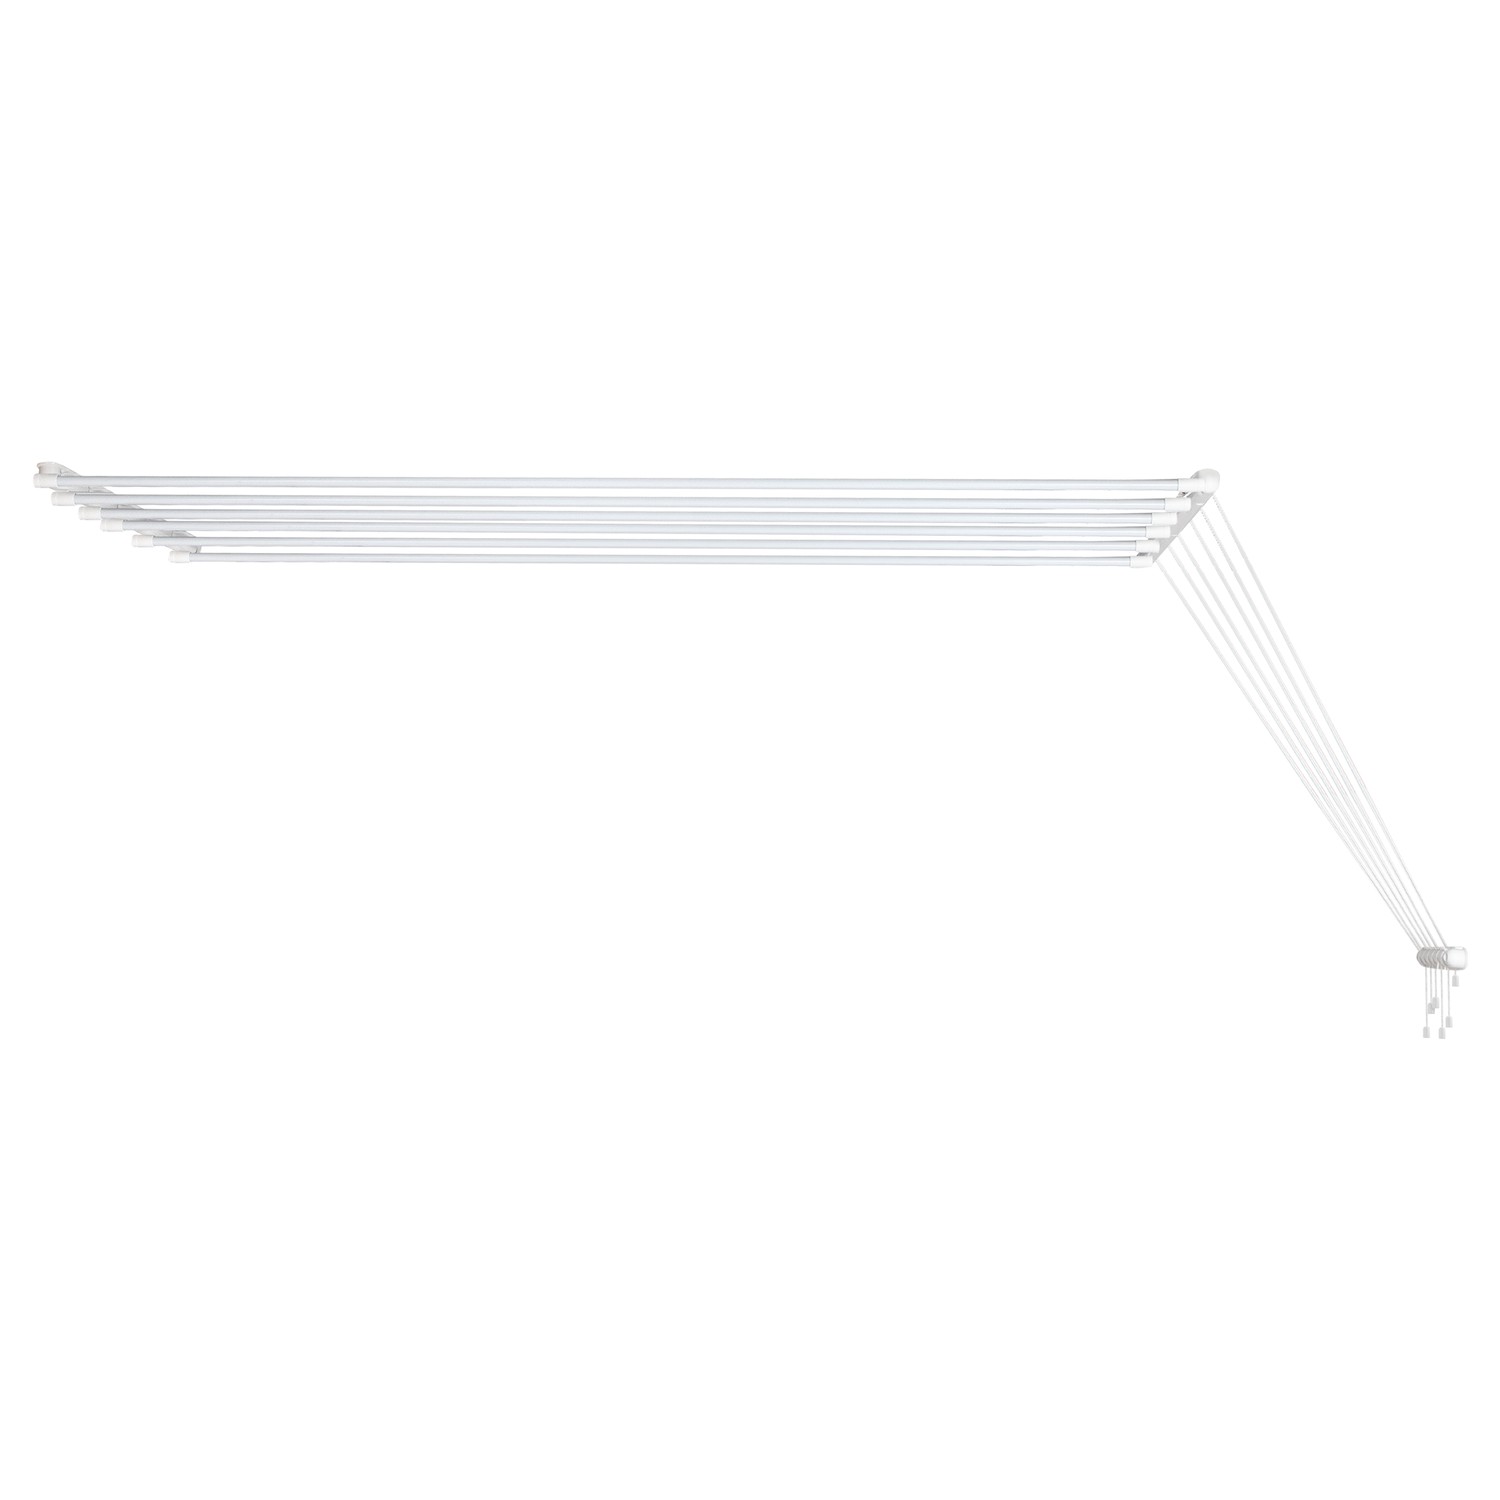
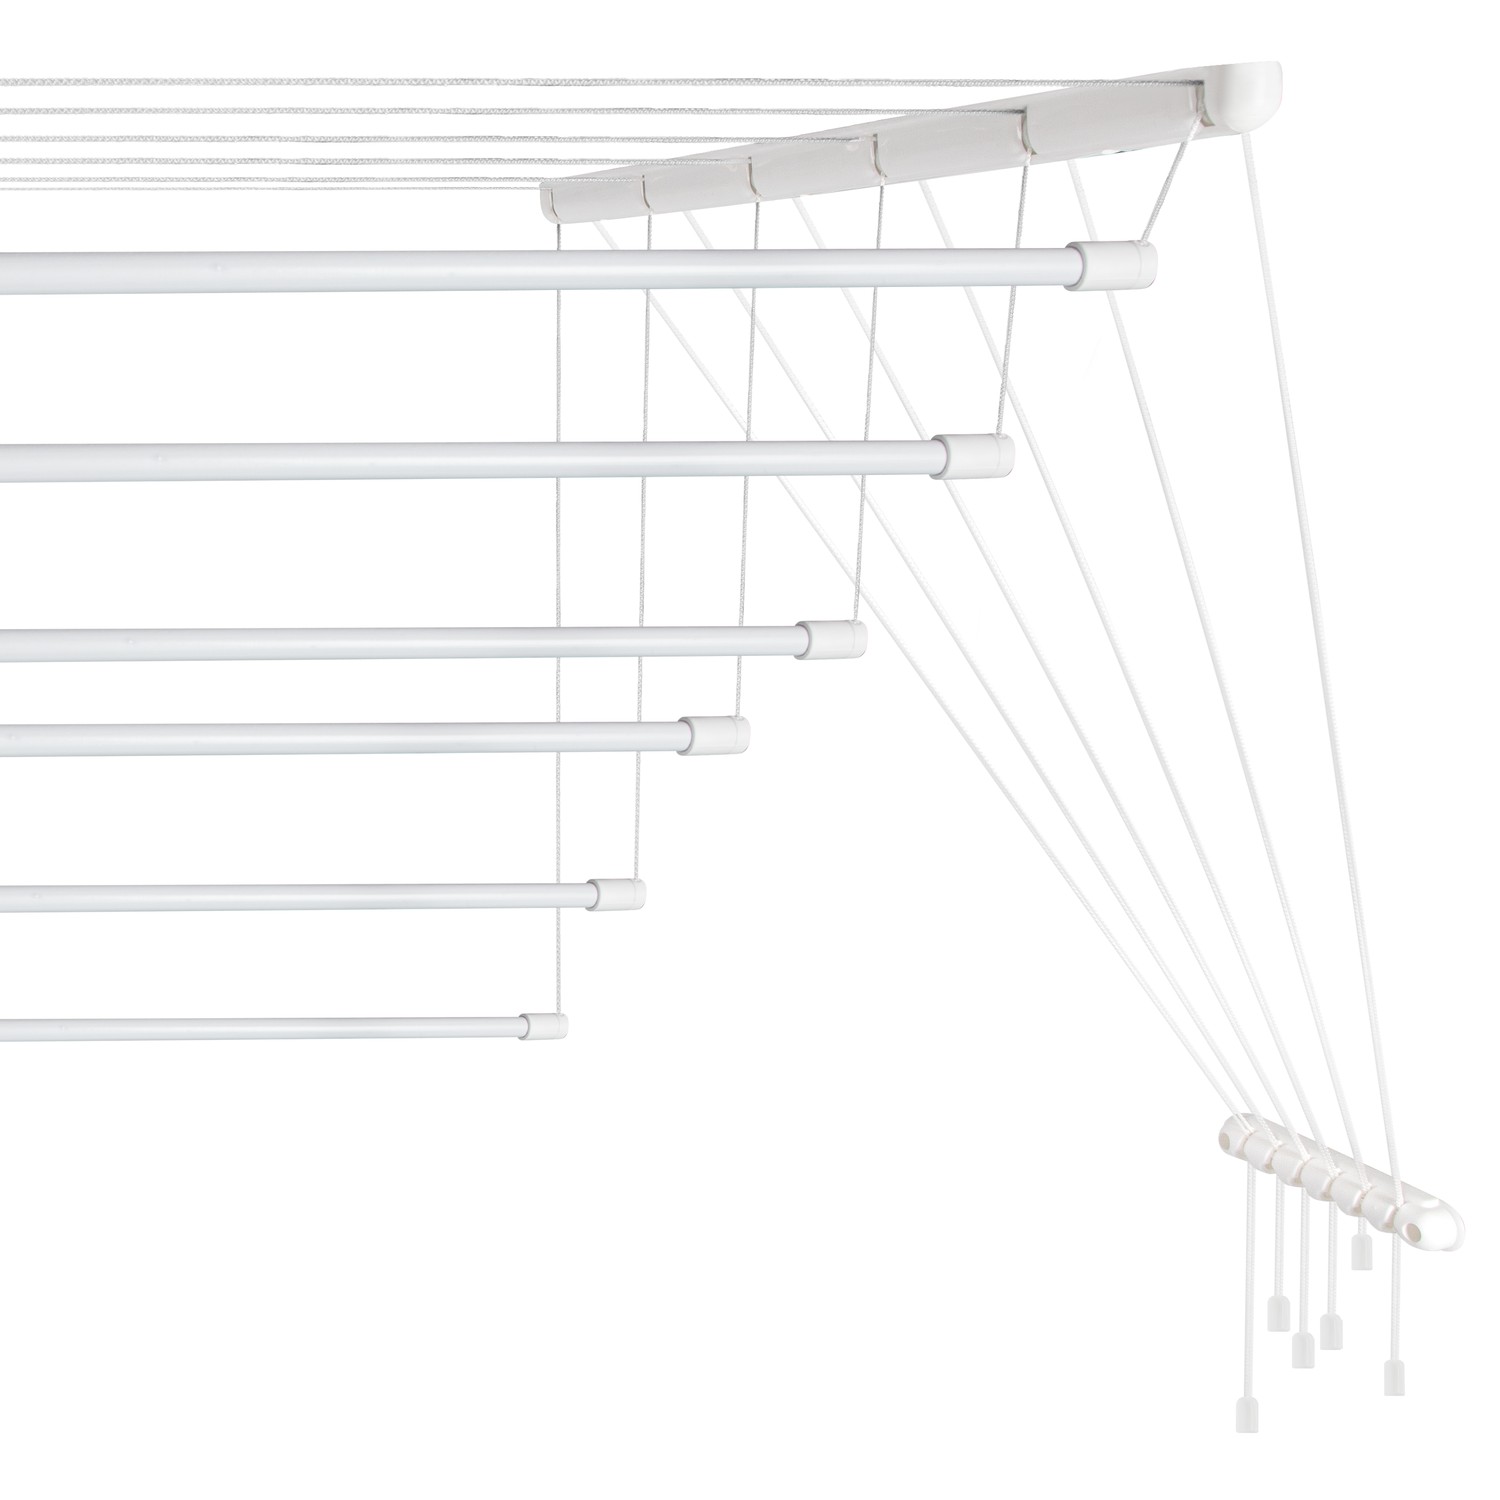
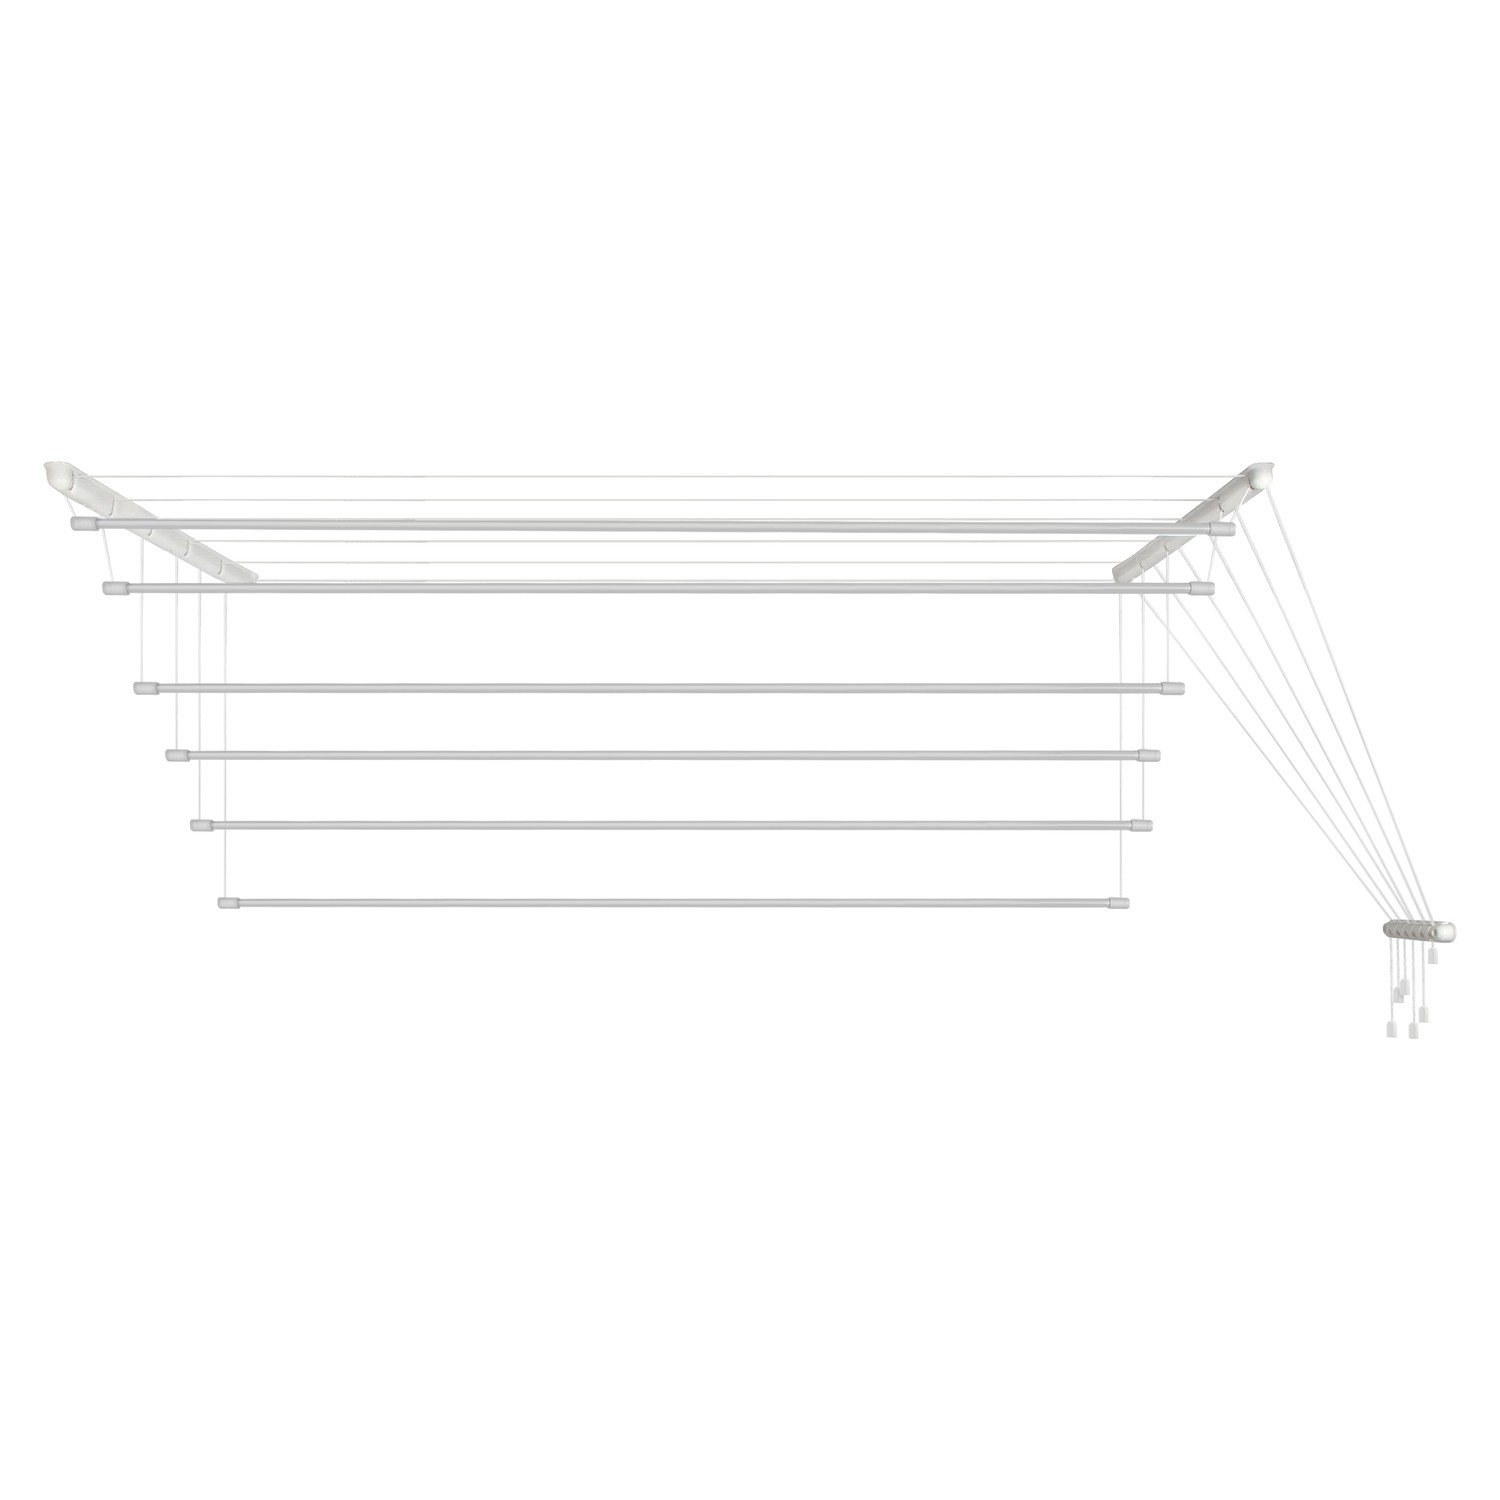
Laundry ceiling dryer 6×1.6 m, steel (AVDC160W-6ST)
Ceiling dryer – a compact and convenient clothes drying rack. It allows you to quickly and efficiently dry your laundry. The white color of the product fits any interior. The design can be used in the bathroom, on the balcony, or on the loggia.
Description
Product Description


Additional information
| Type | Ceiling dryer |
|---|---|
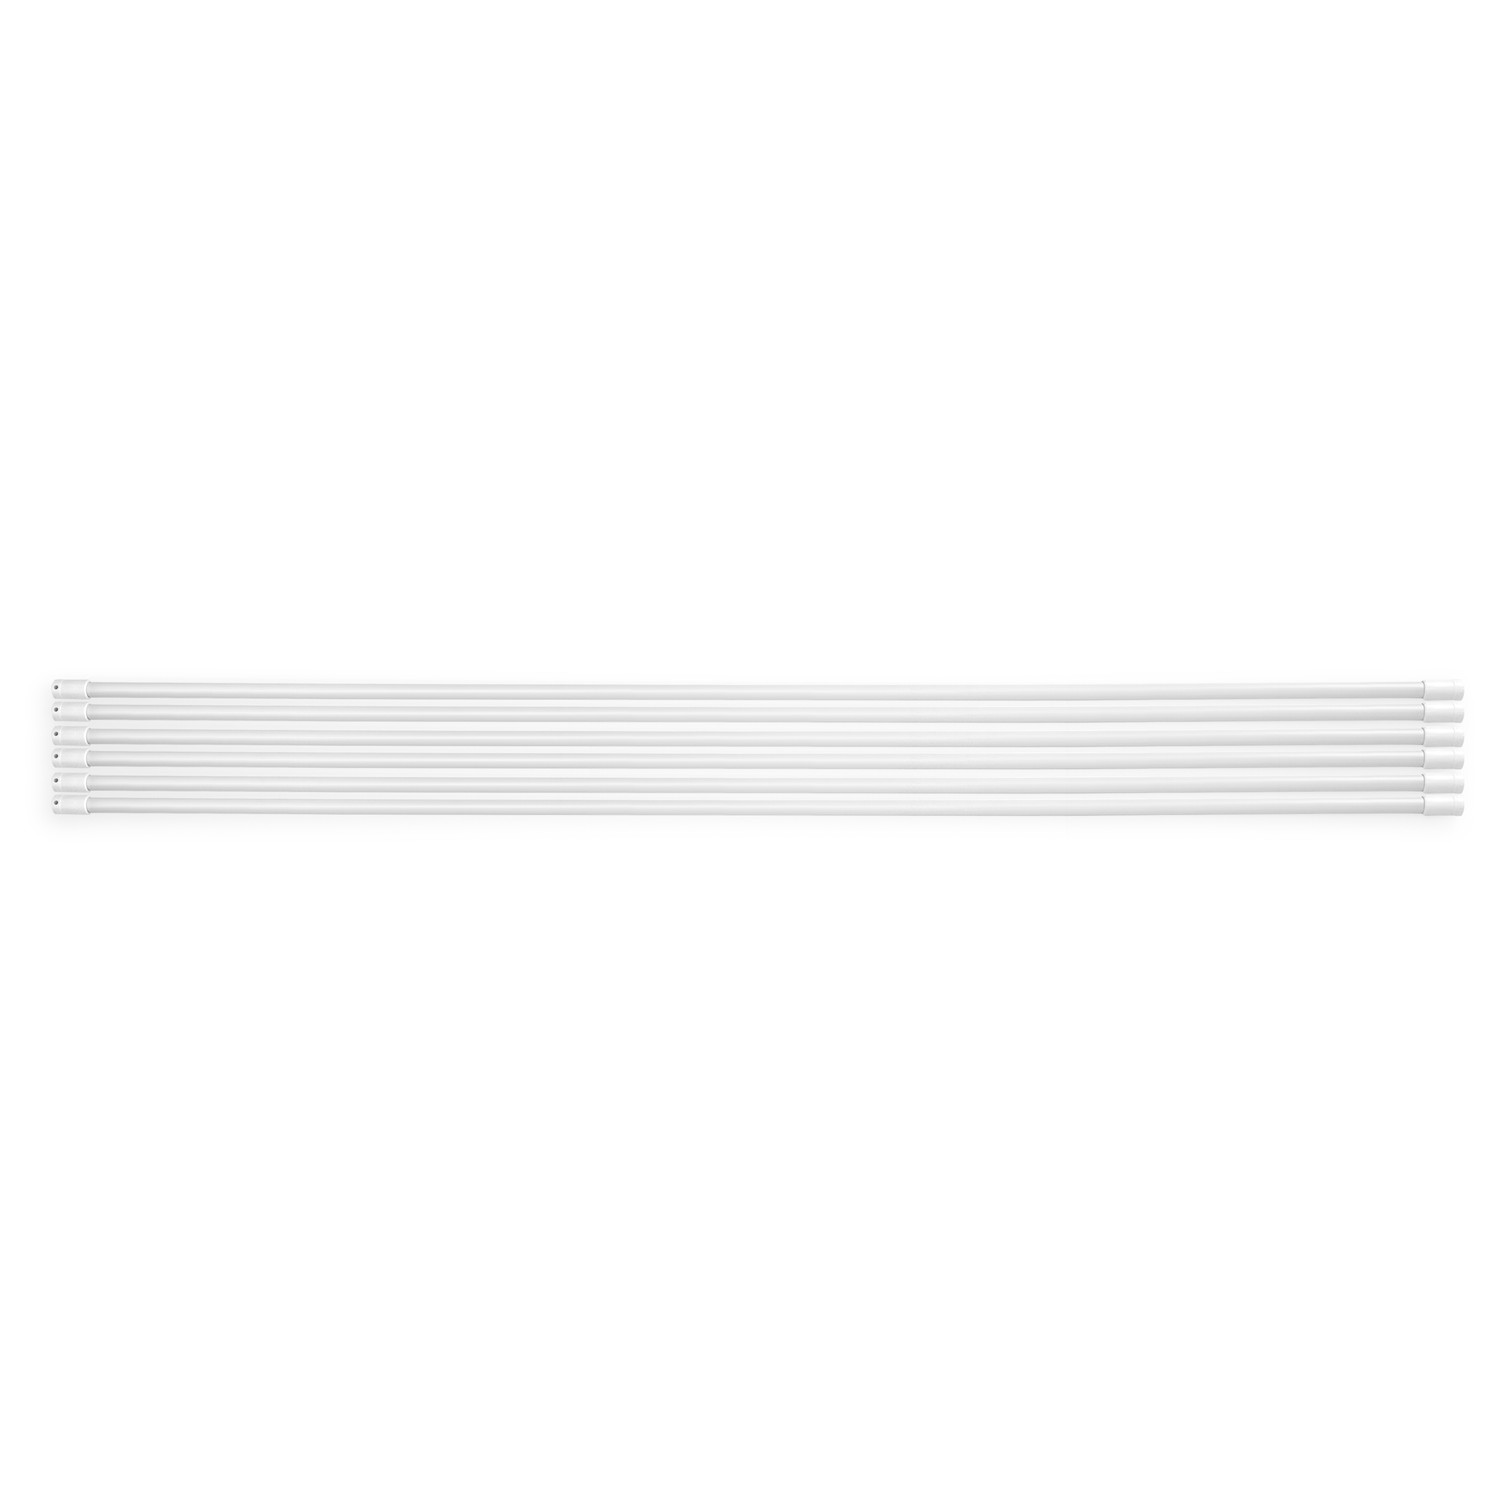
| Working surface length | 9.6 m |
| Material | Metal |
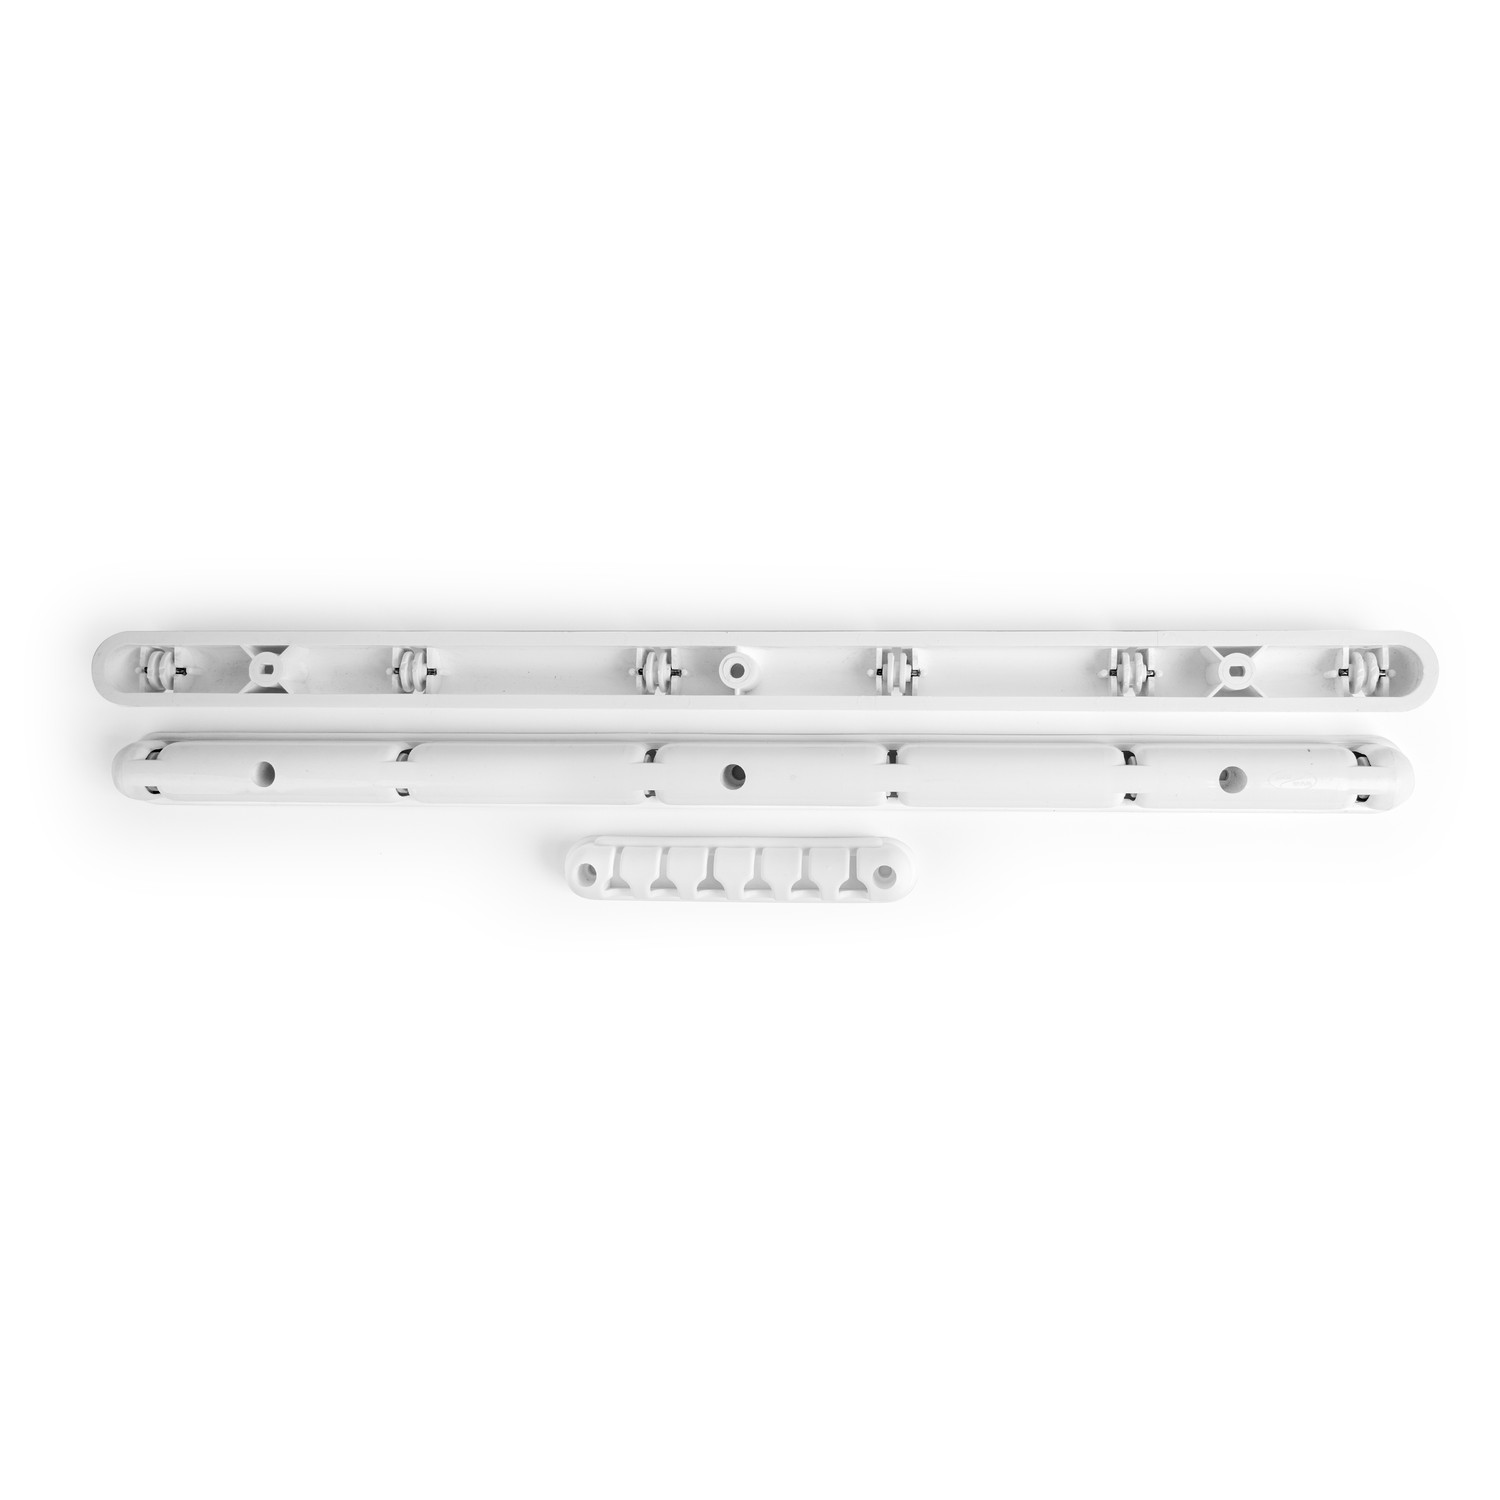
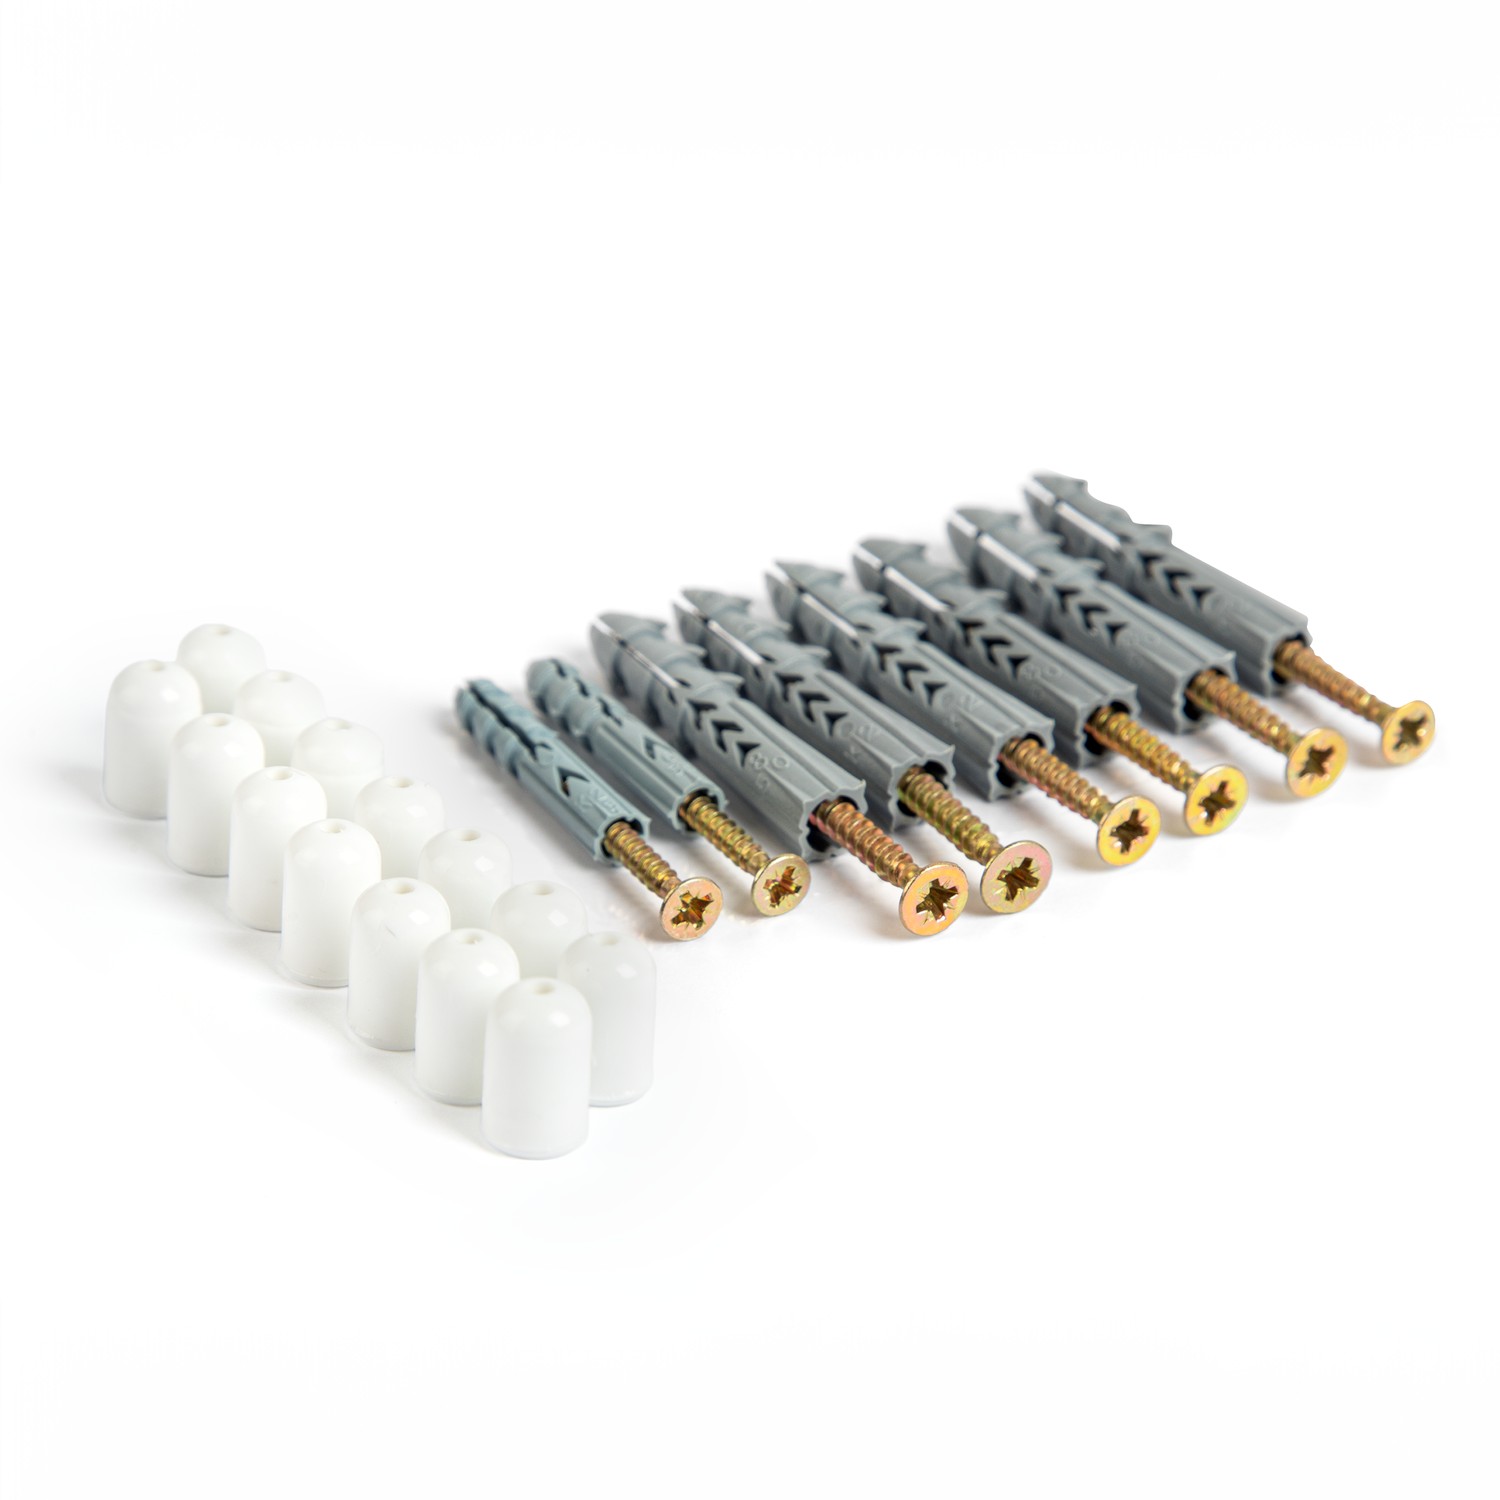
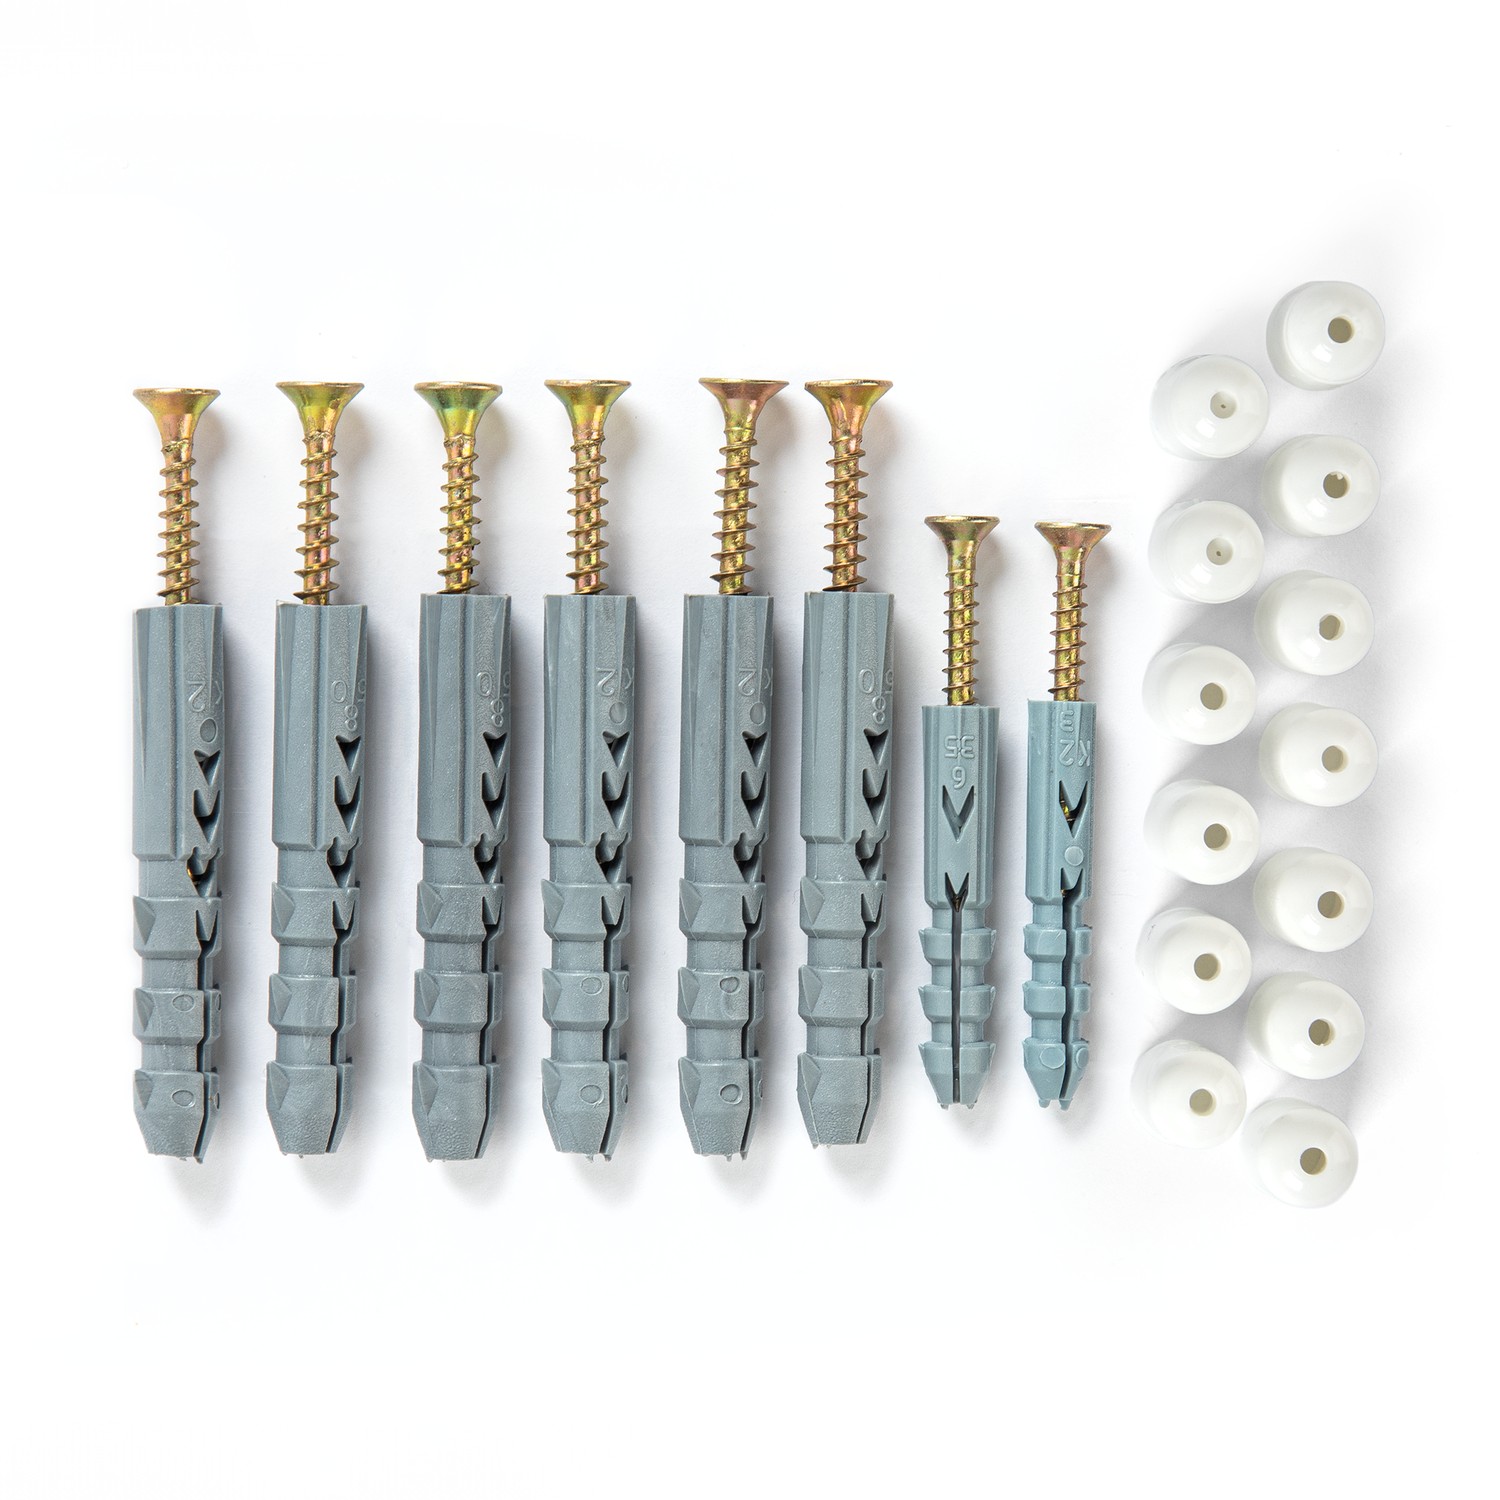
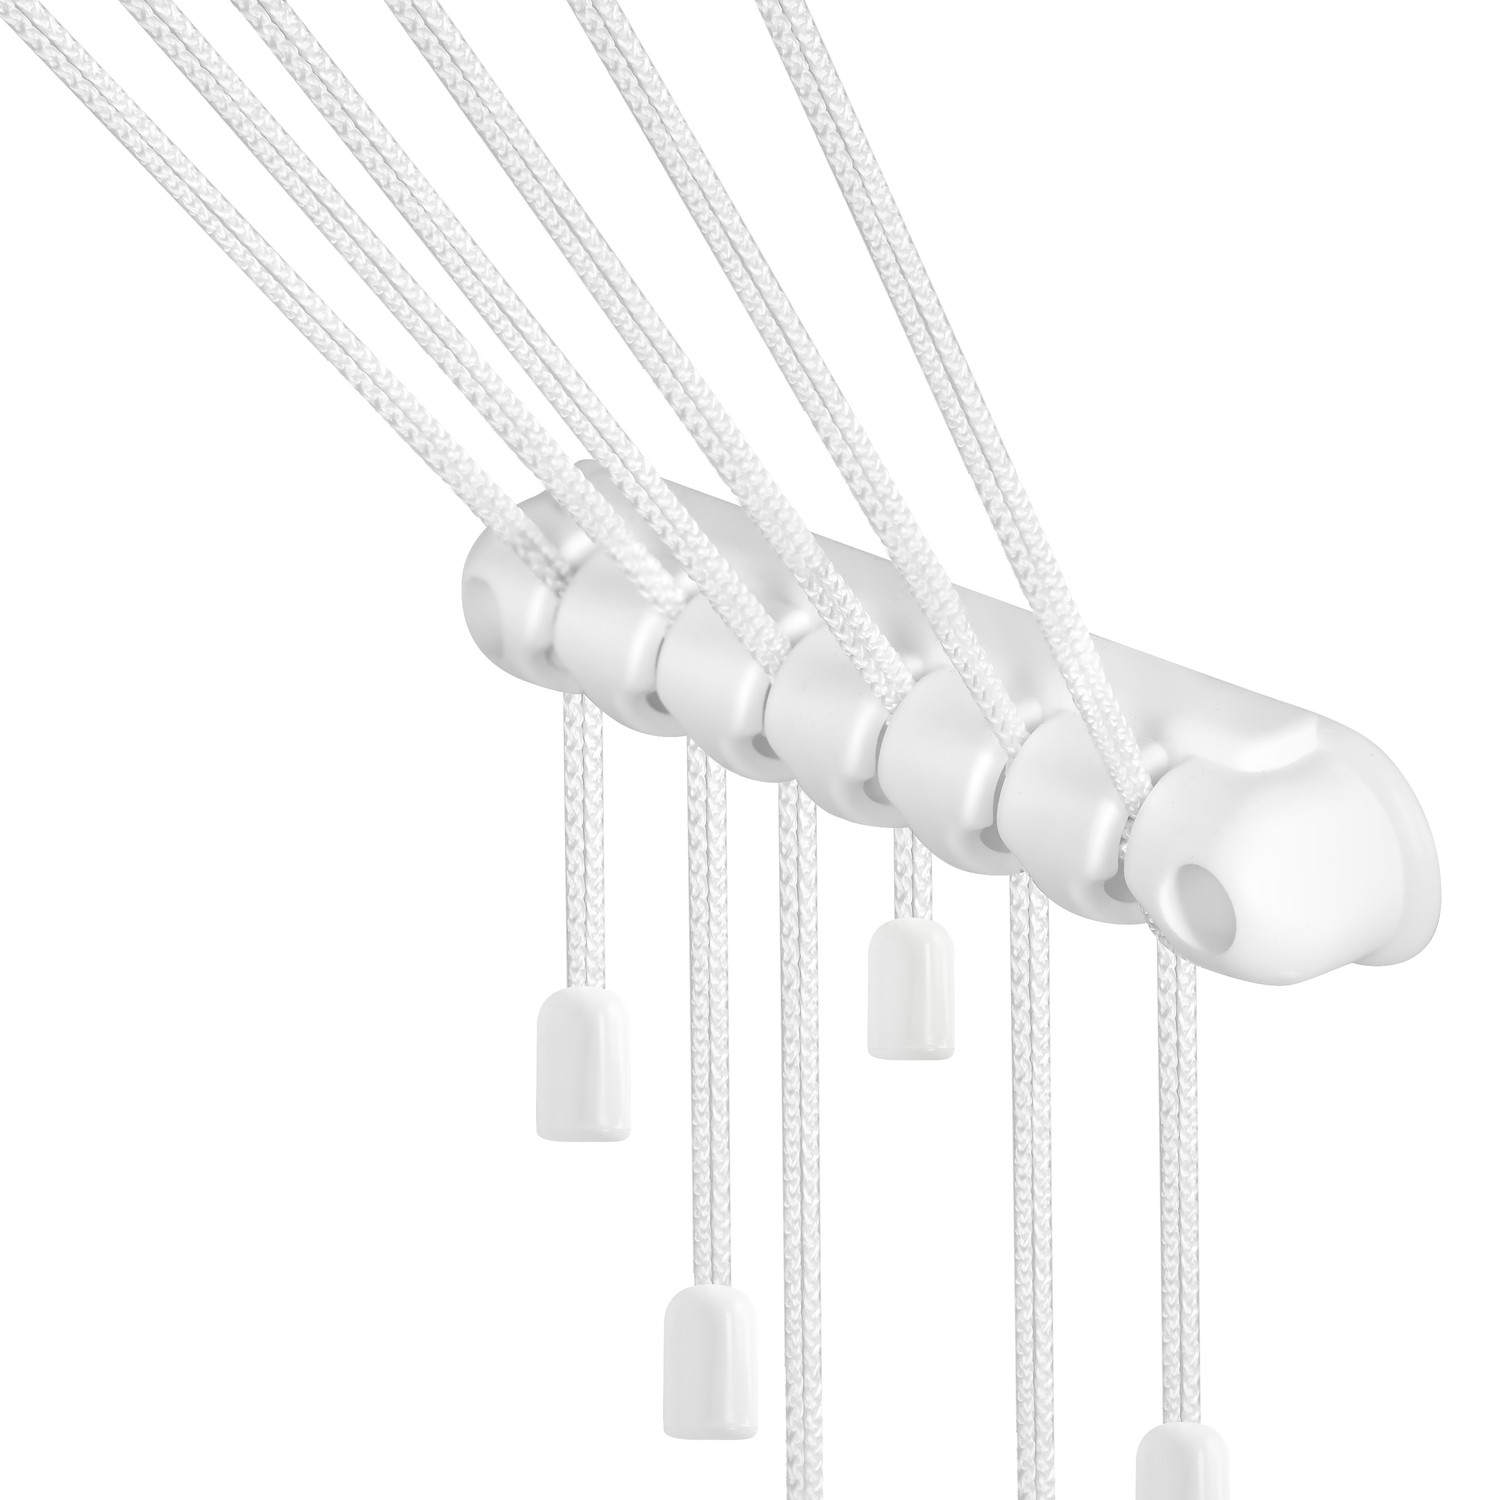
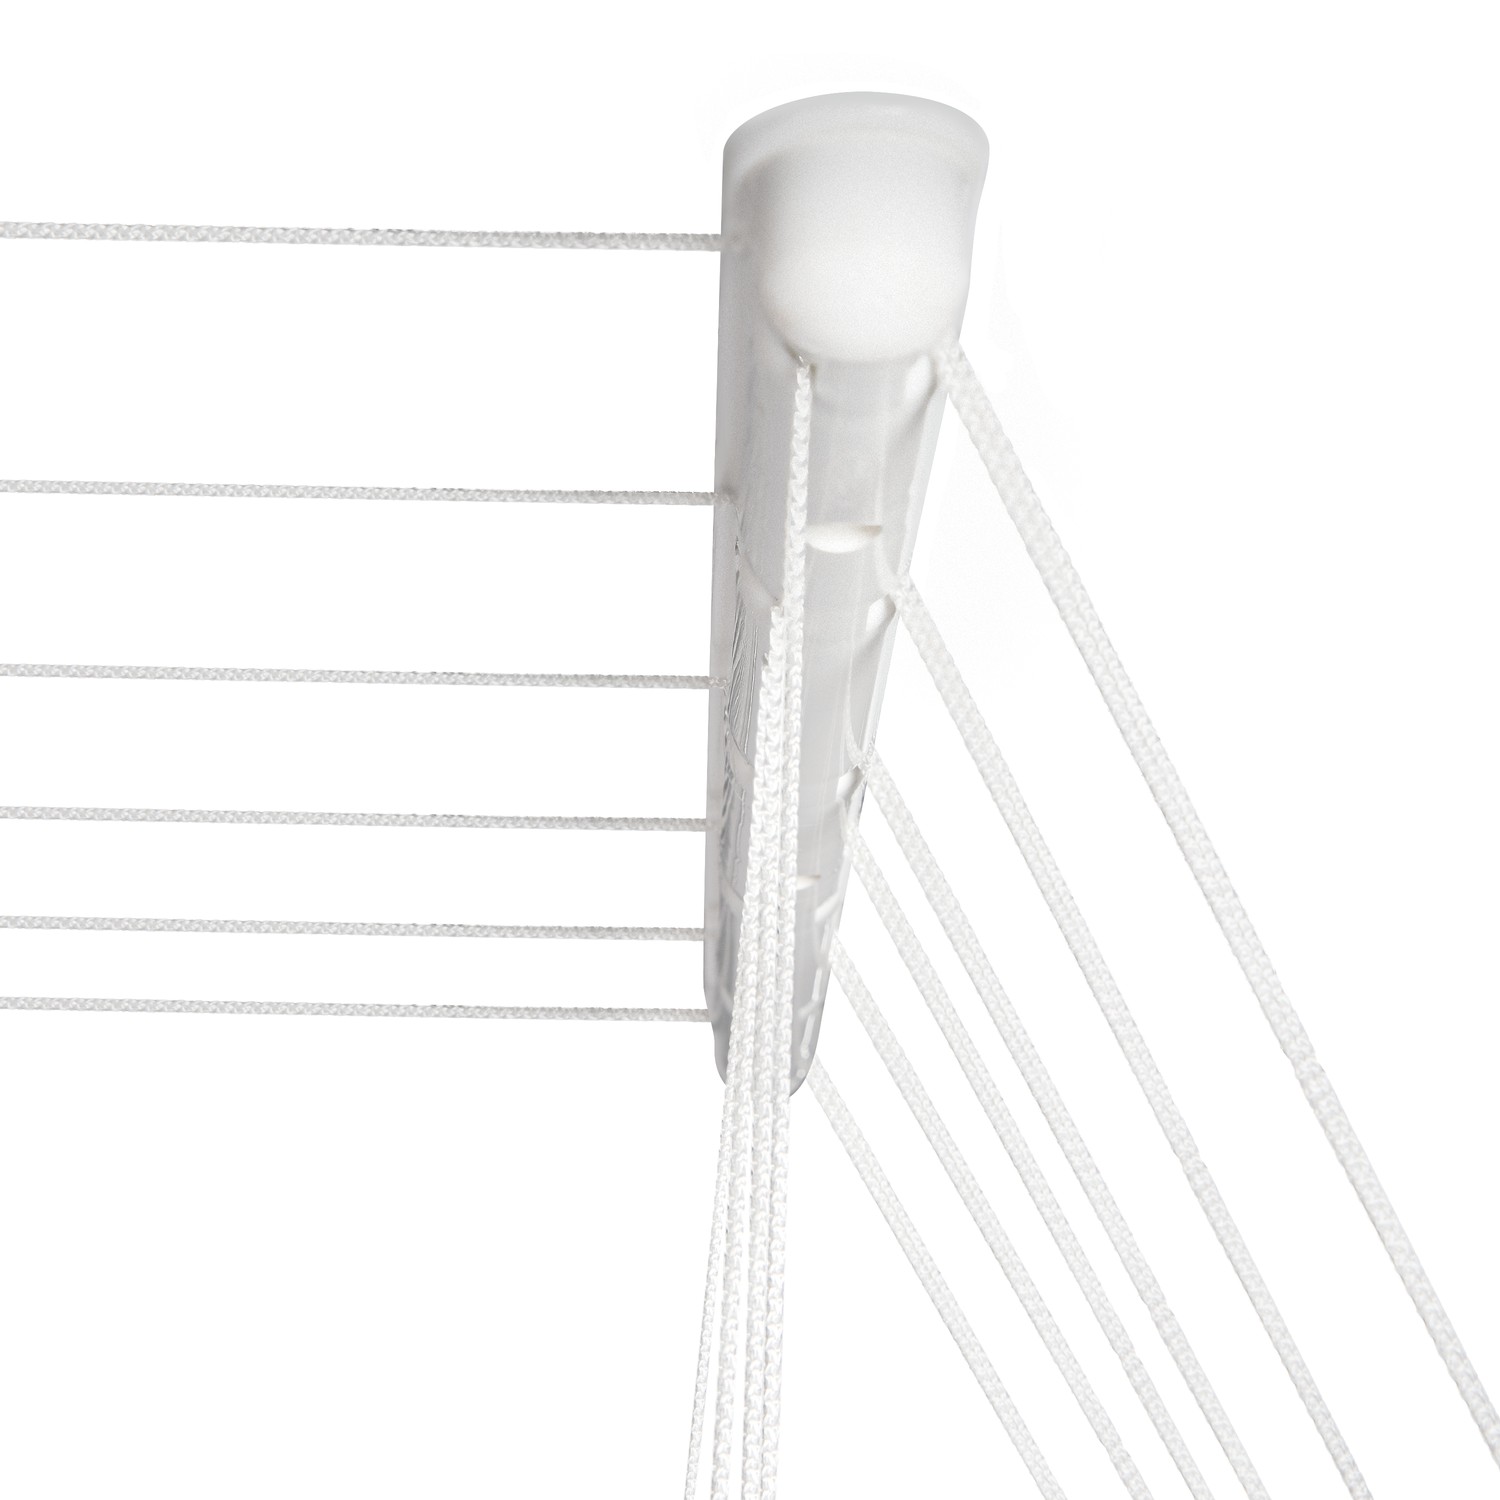
| Additional | Fastener material: plastic |
| Size | 160 cm |
| Number of rods/tubes | 6 |
| Weight | 2.21 kg |
| color | |
| Brand Registration Country | Ukraine |
| Country of Manufacture | Ukraine |
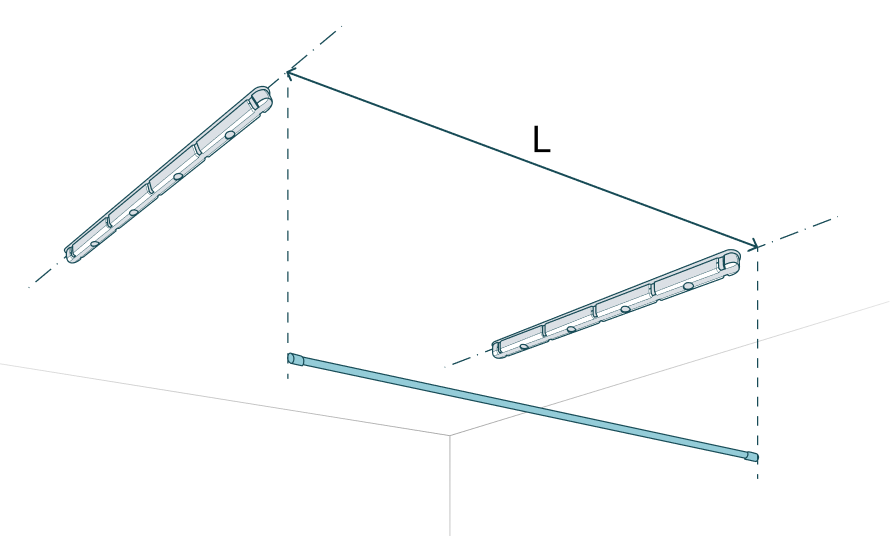
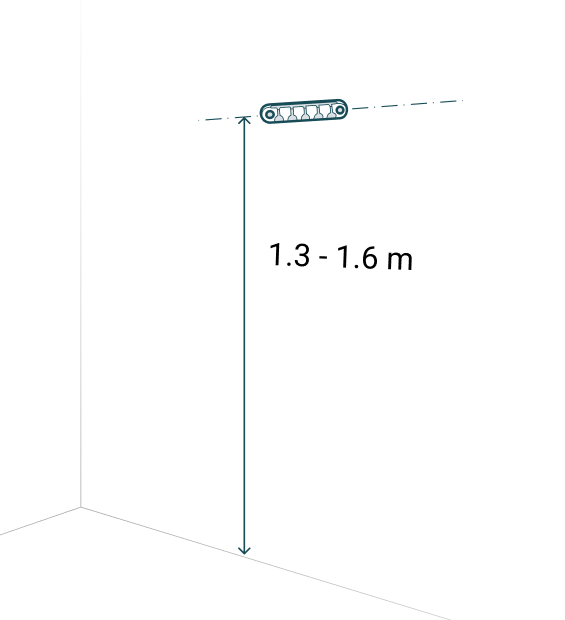
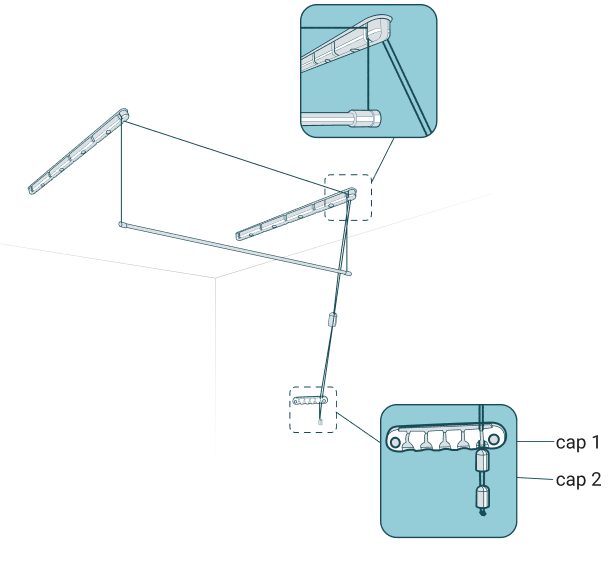
Installation guide